In this article, I will explain step by step process of connecting AstroPaper theme with the Forestry headless CMS. So, let’s get started 🎉
Table of contents
Open Table of contents
What is Forestry?
Forestry is a git-based headless CMS and we can manage our markdown contents easily by using that. Although it is not an open-sourced CMS, it has a good free plan by which we can import up to 3 sites (3 repositories). In this article, I’ll demonstrate how we can use Forestry as git-based CMS of our AstroPaper blog theme.
Login / Register an account at Forestry.io
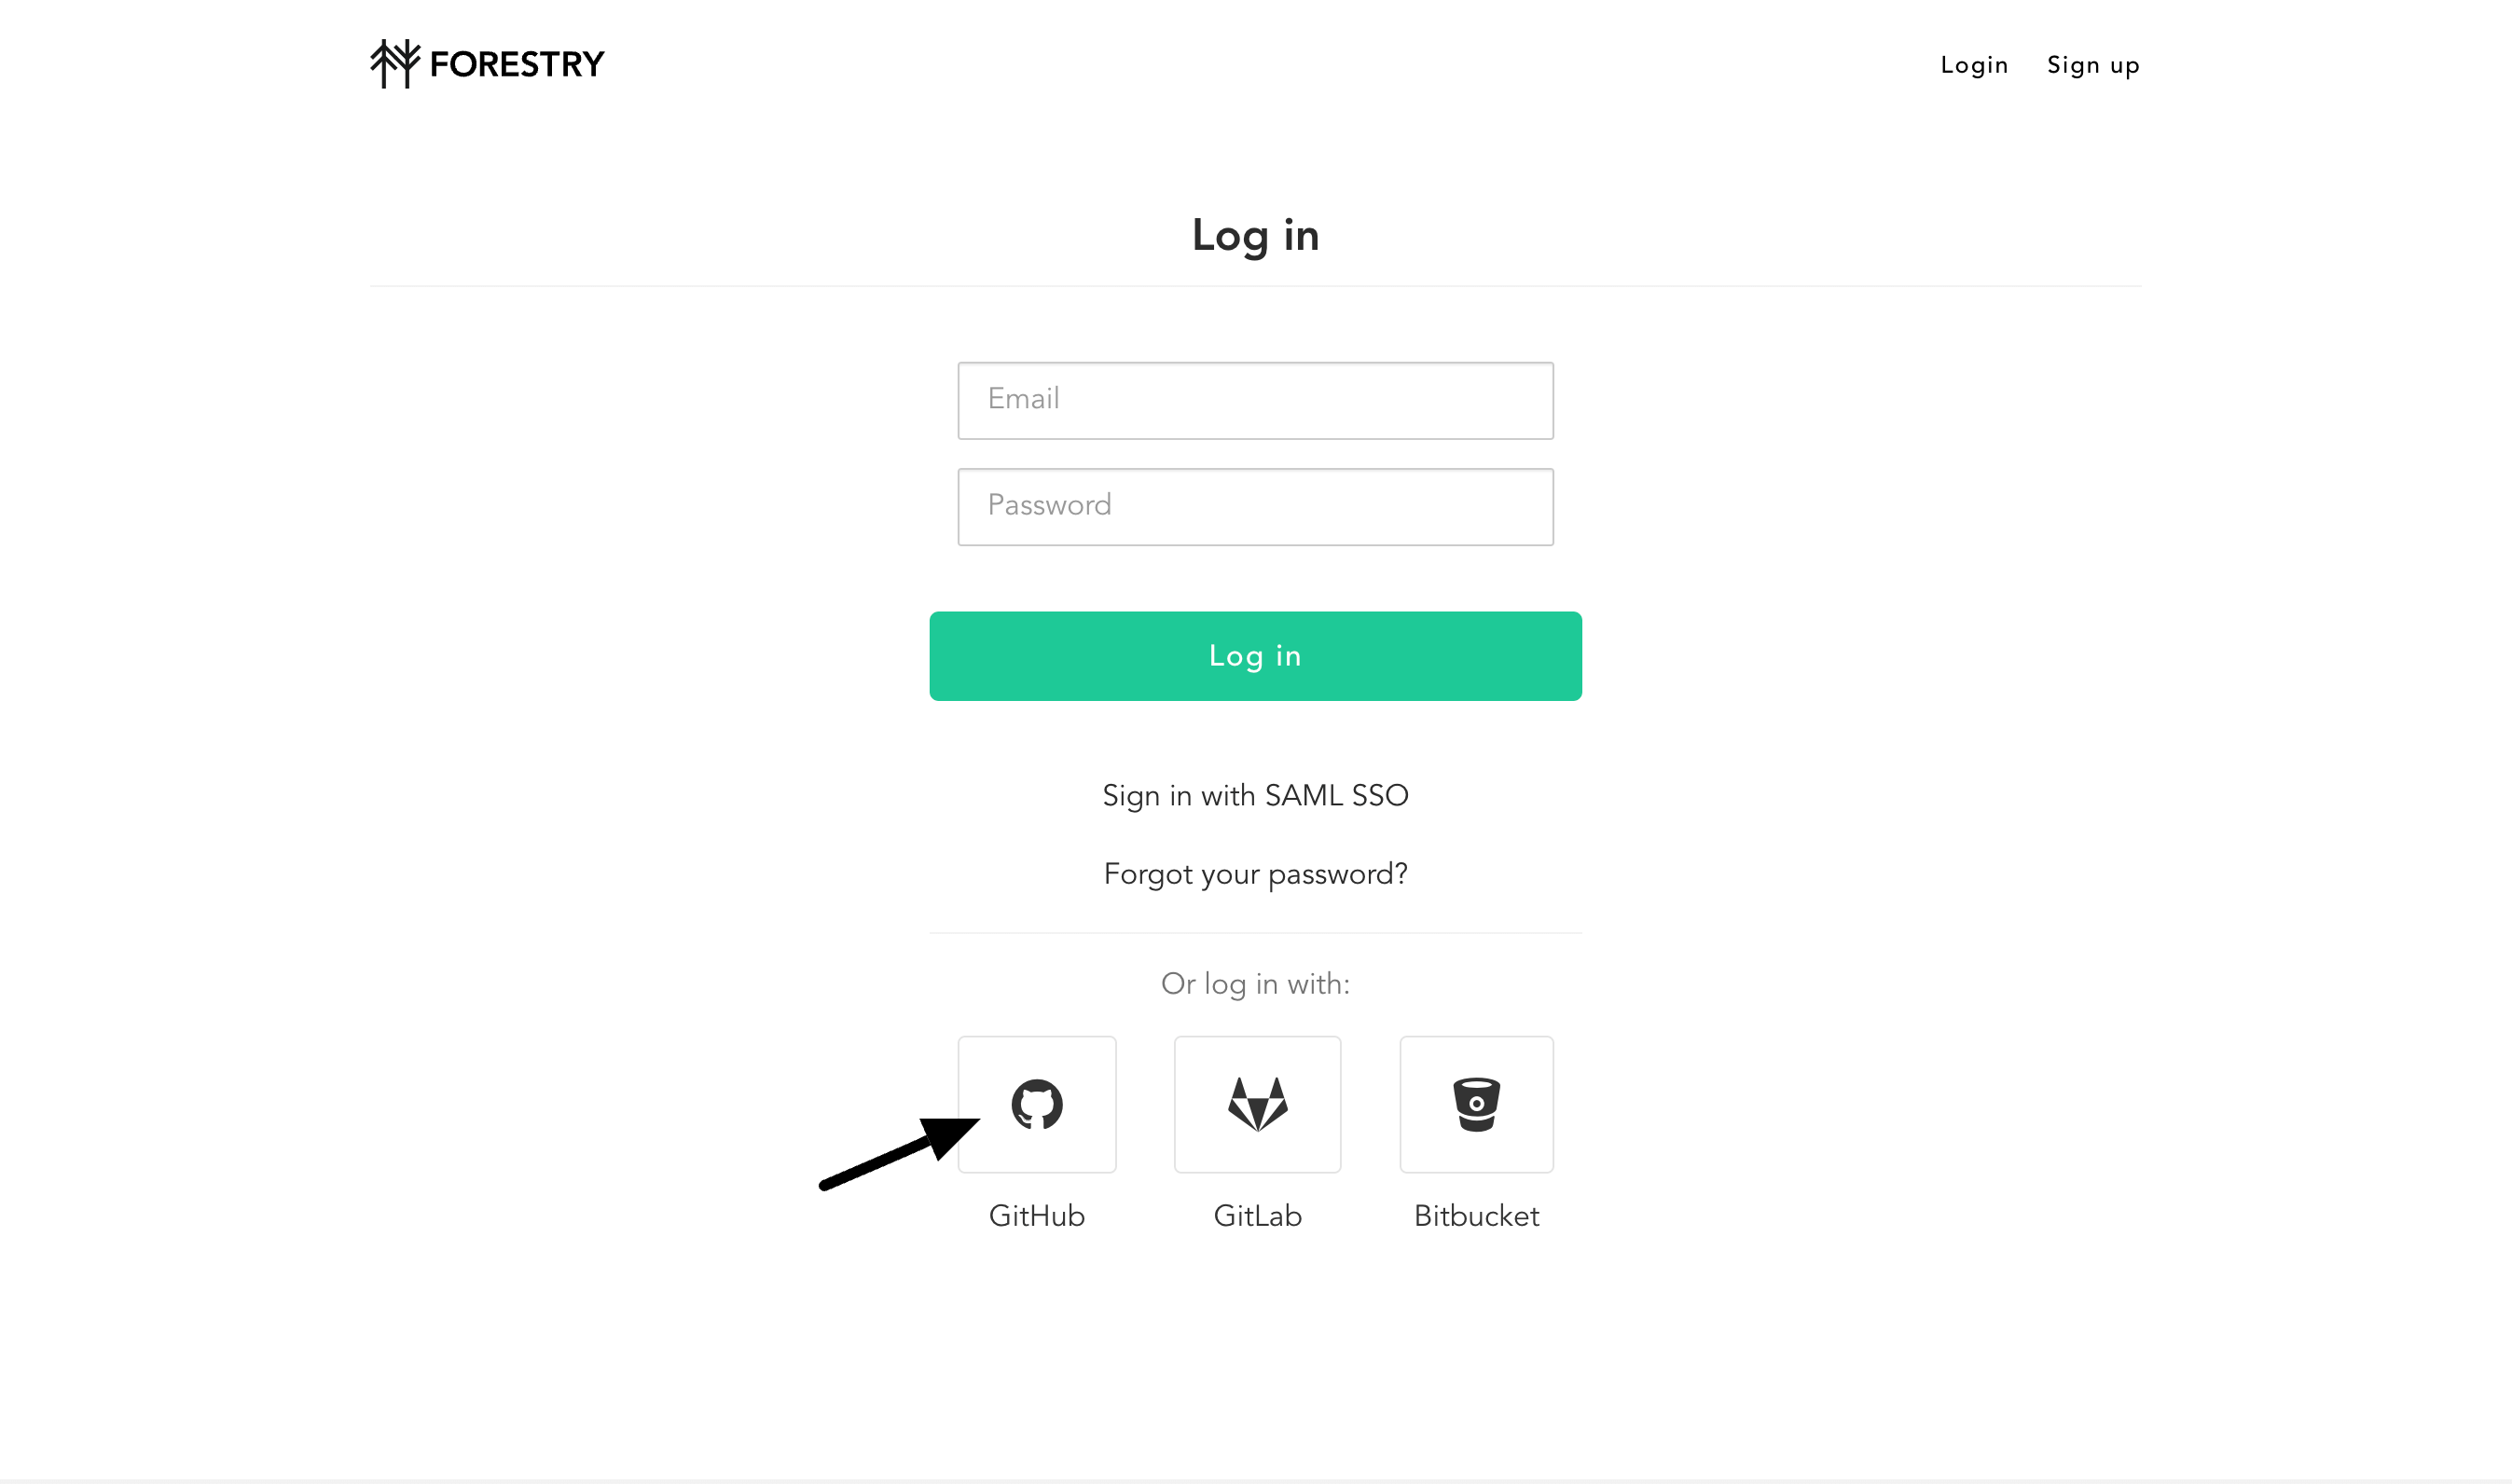
First of all, you have to create an account at Forestry website. I usually sign up with my Github account.
Import AstroPaper site (repository)
This part is importing the repository to Forestry and a little bit of set up process.
Add Site
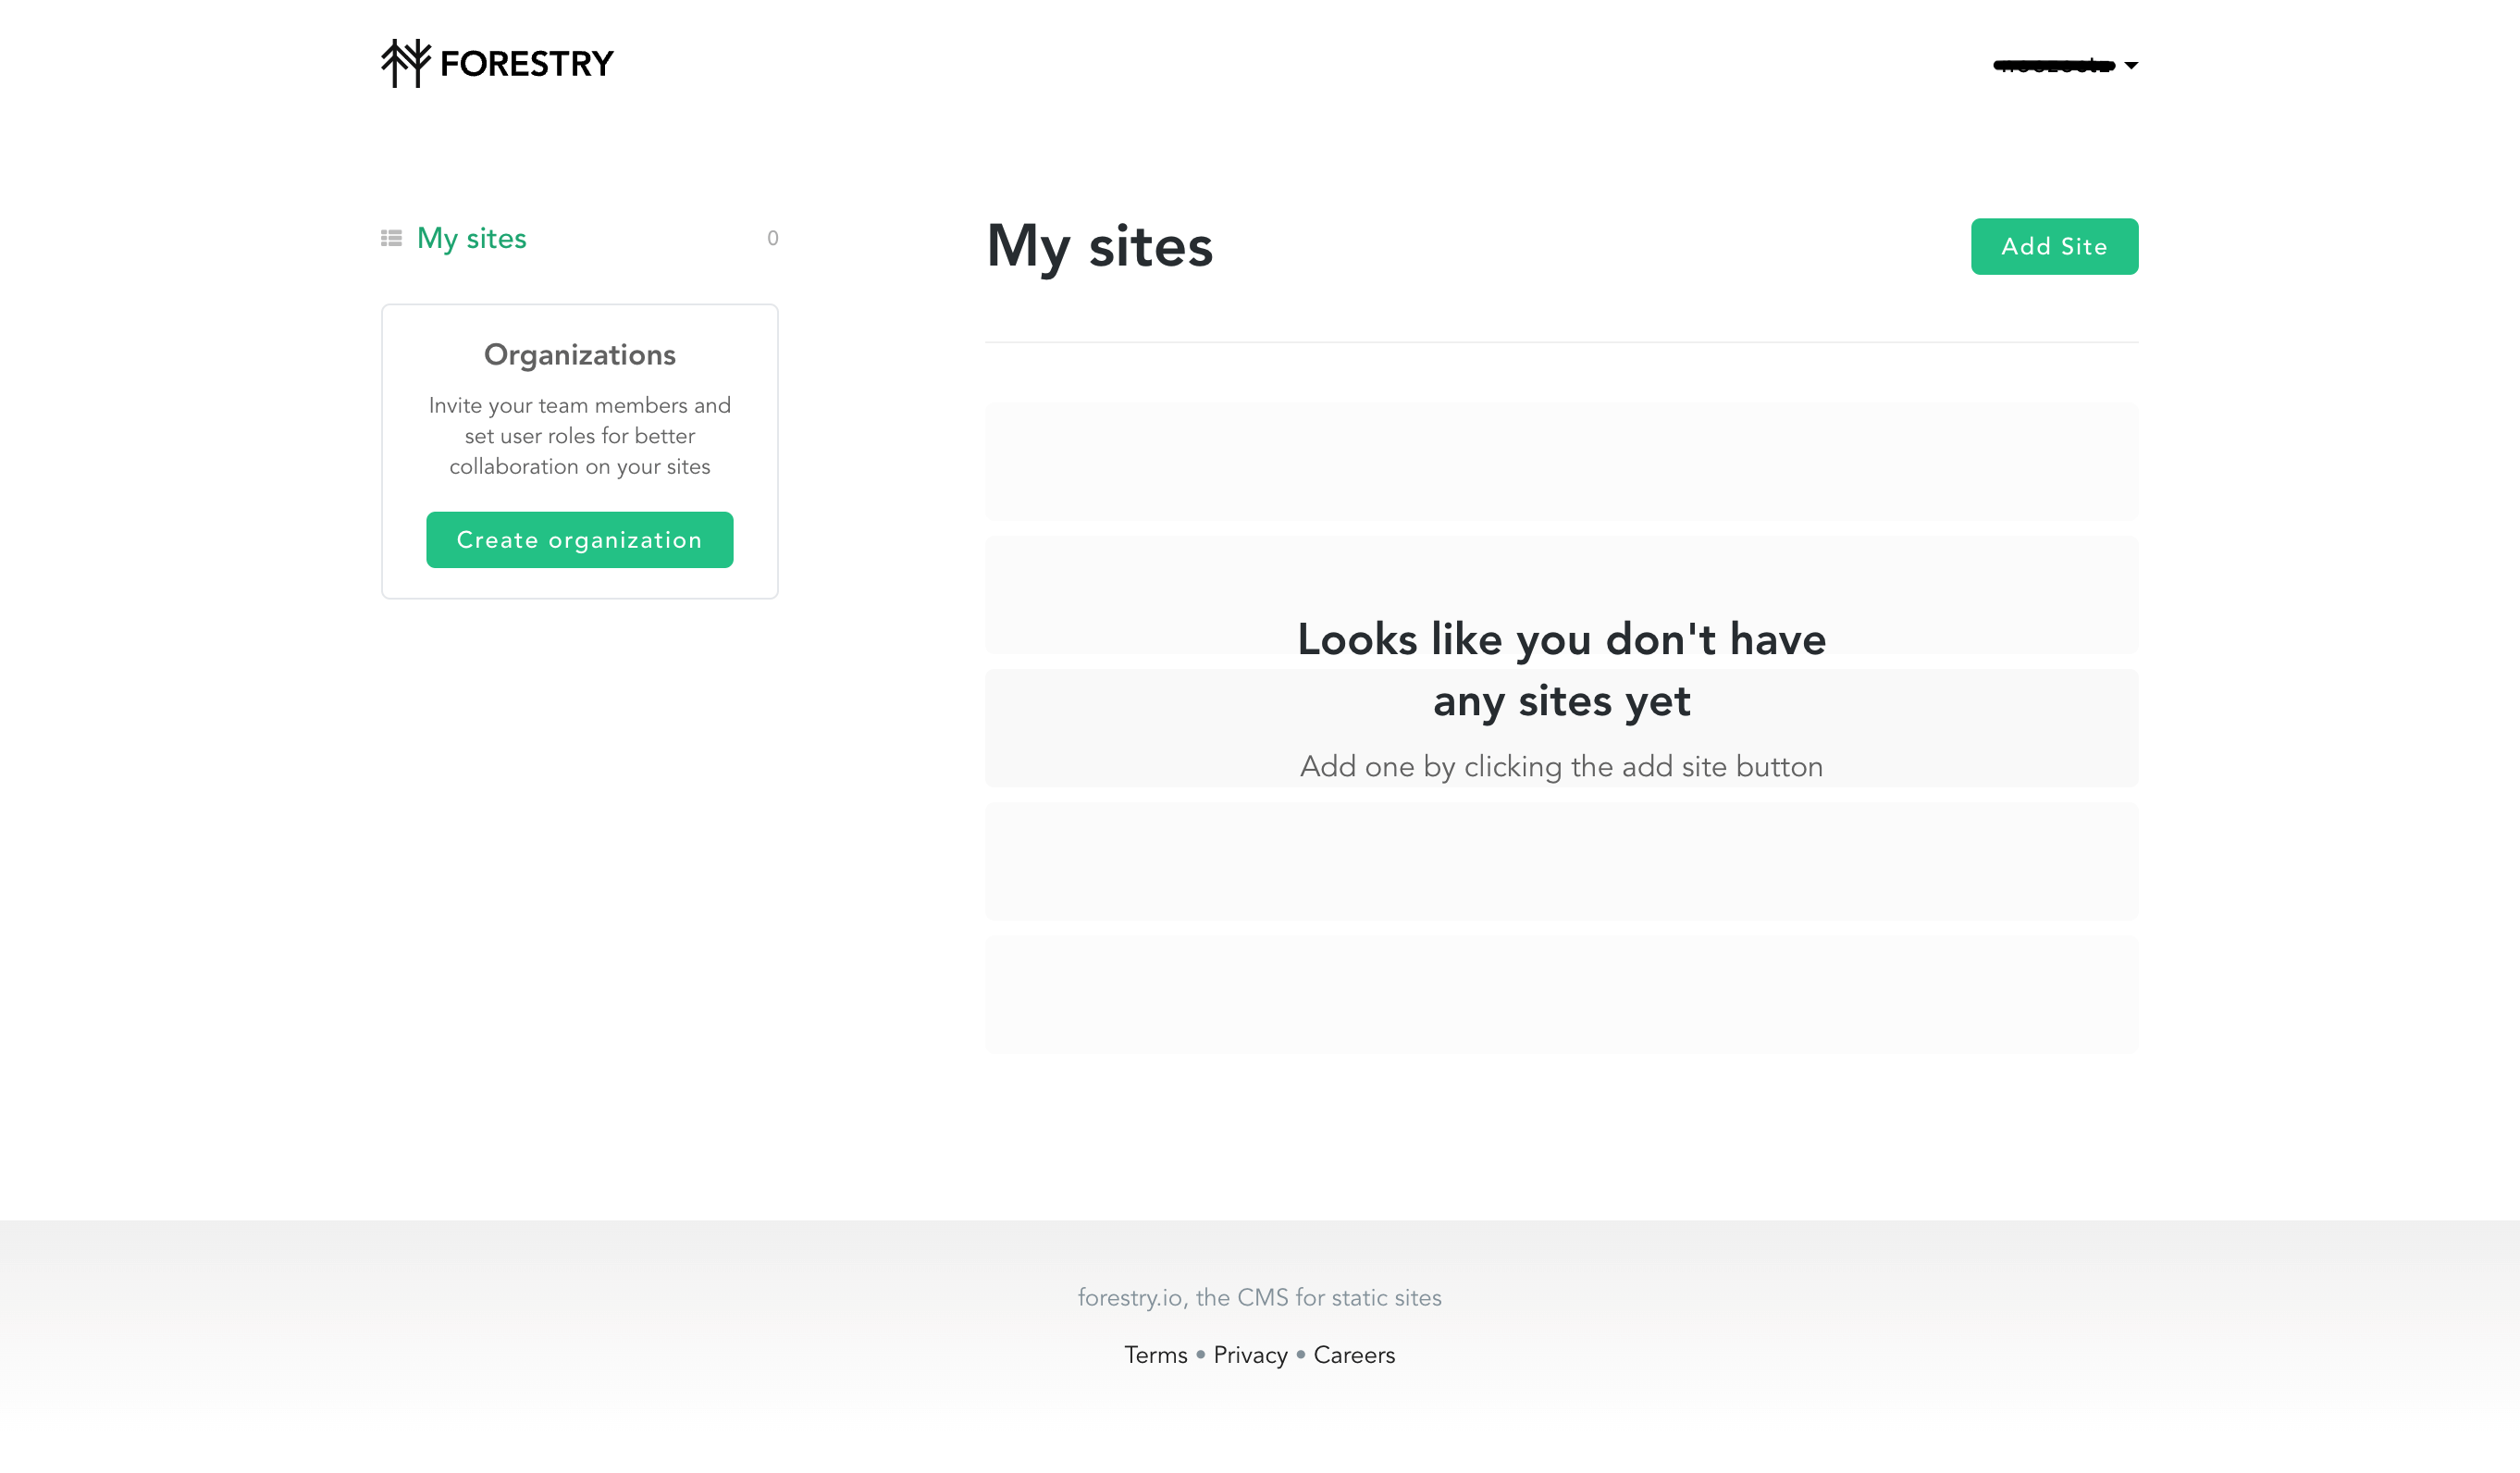
After logging in/signing up an account, import your AstroPaper site by clicking “Add Site” button.
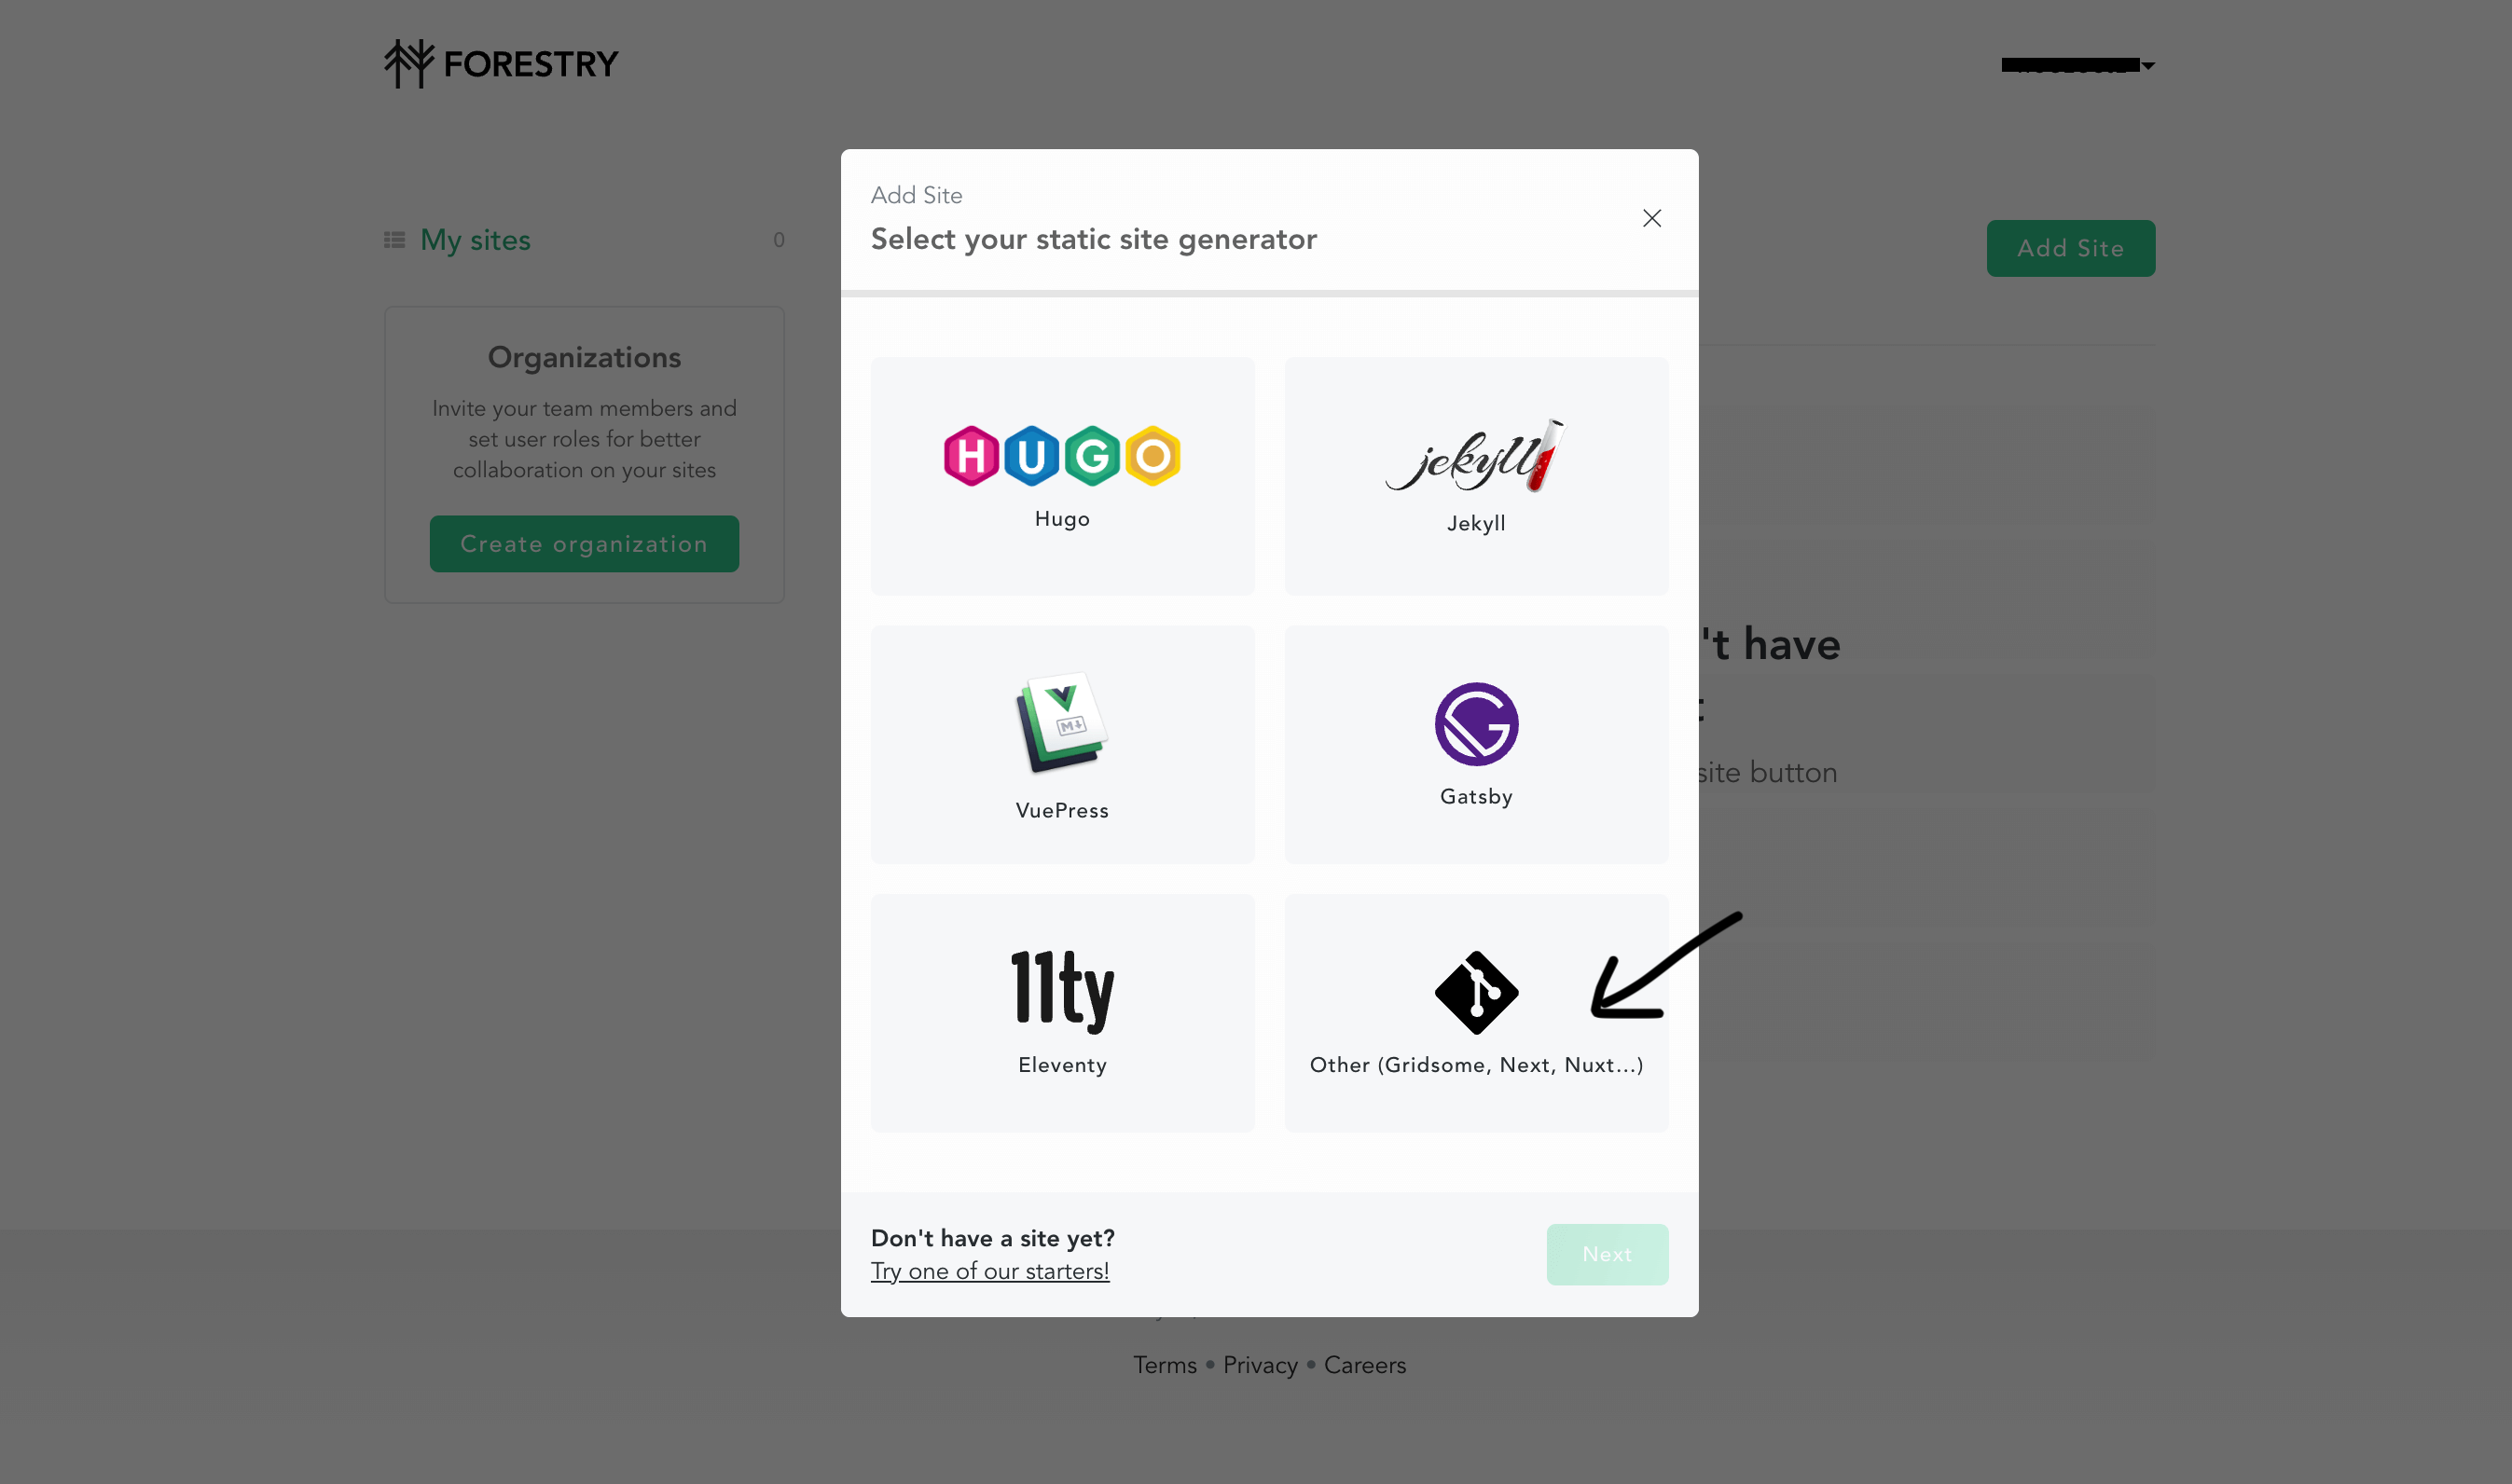
Select SSG
In this case, just choose “Others”
Select Git Provider
My git provider is Github and I assume yours is the same. So, choose “Github”.
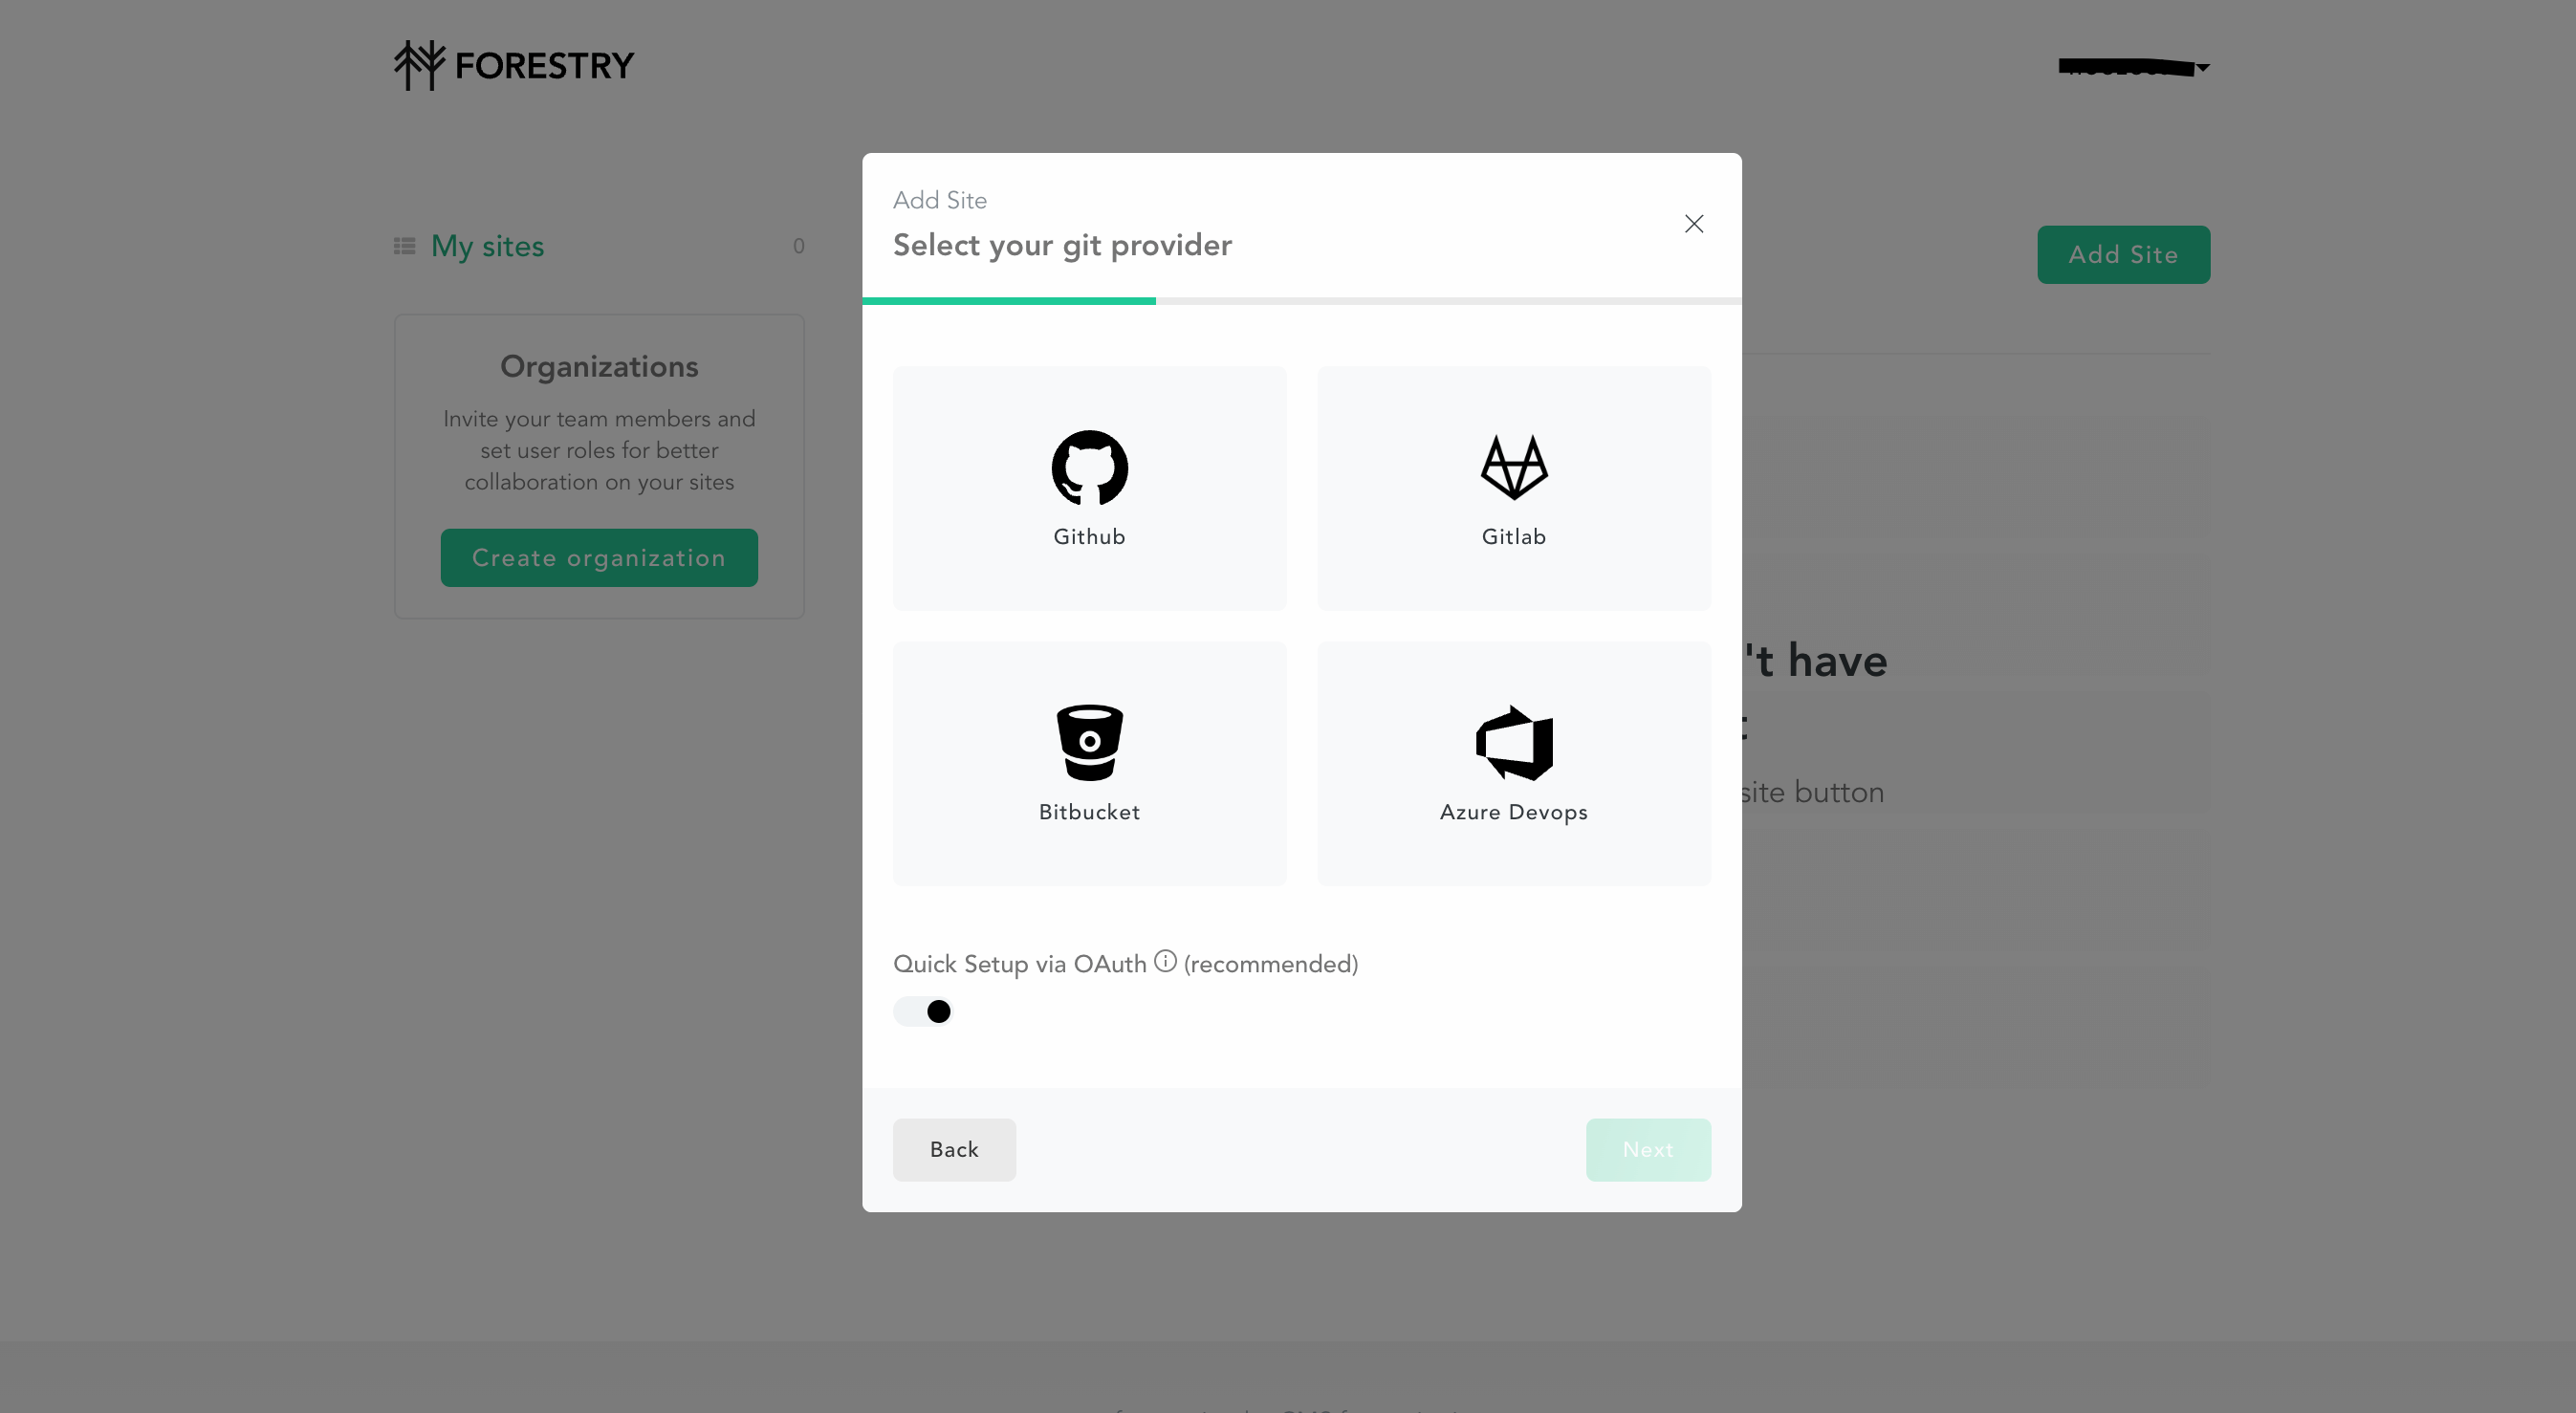
After this, the process of importing site (repo) is done.
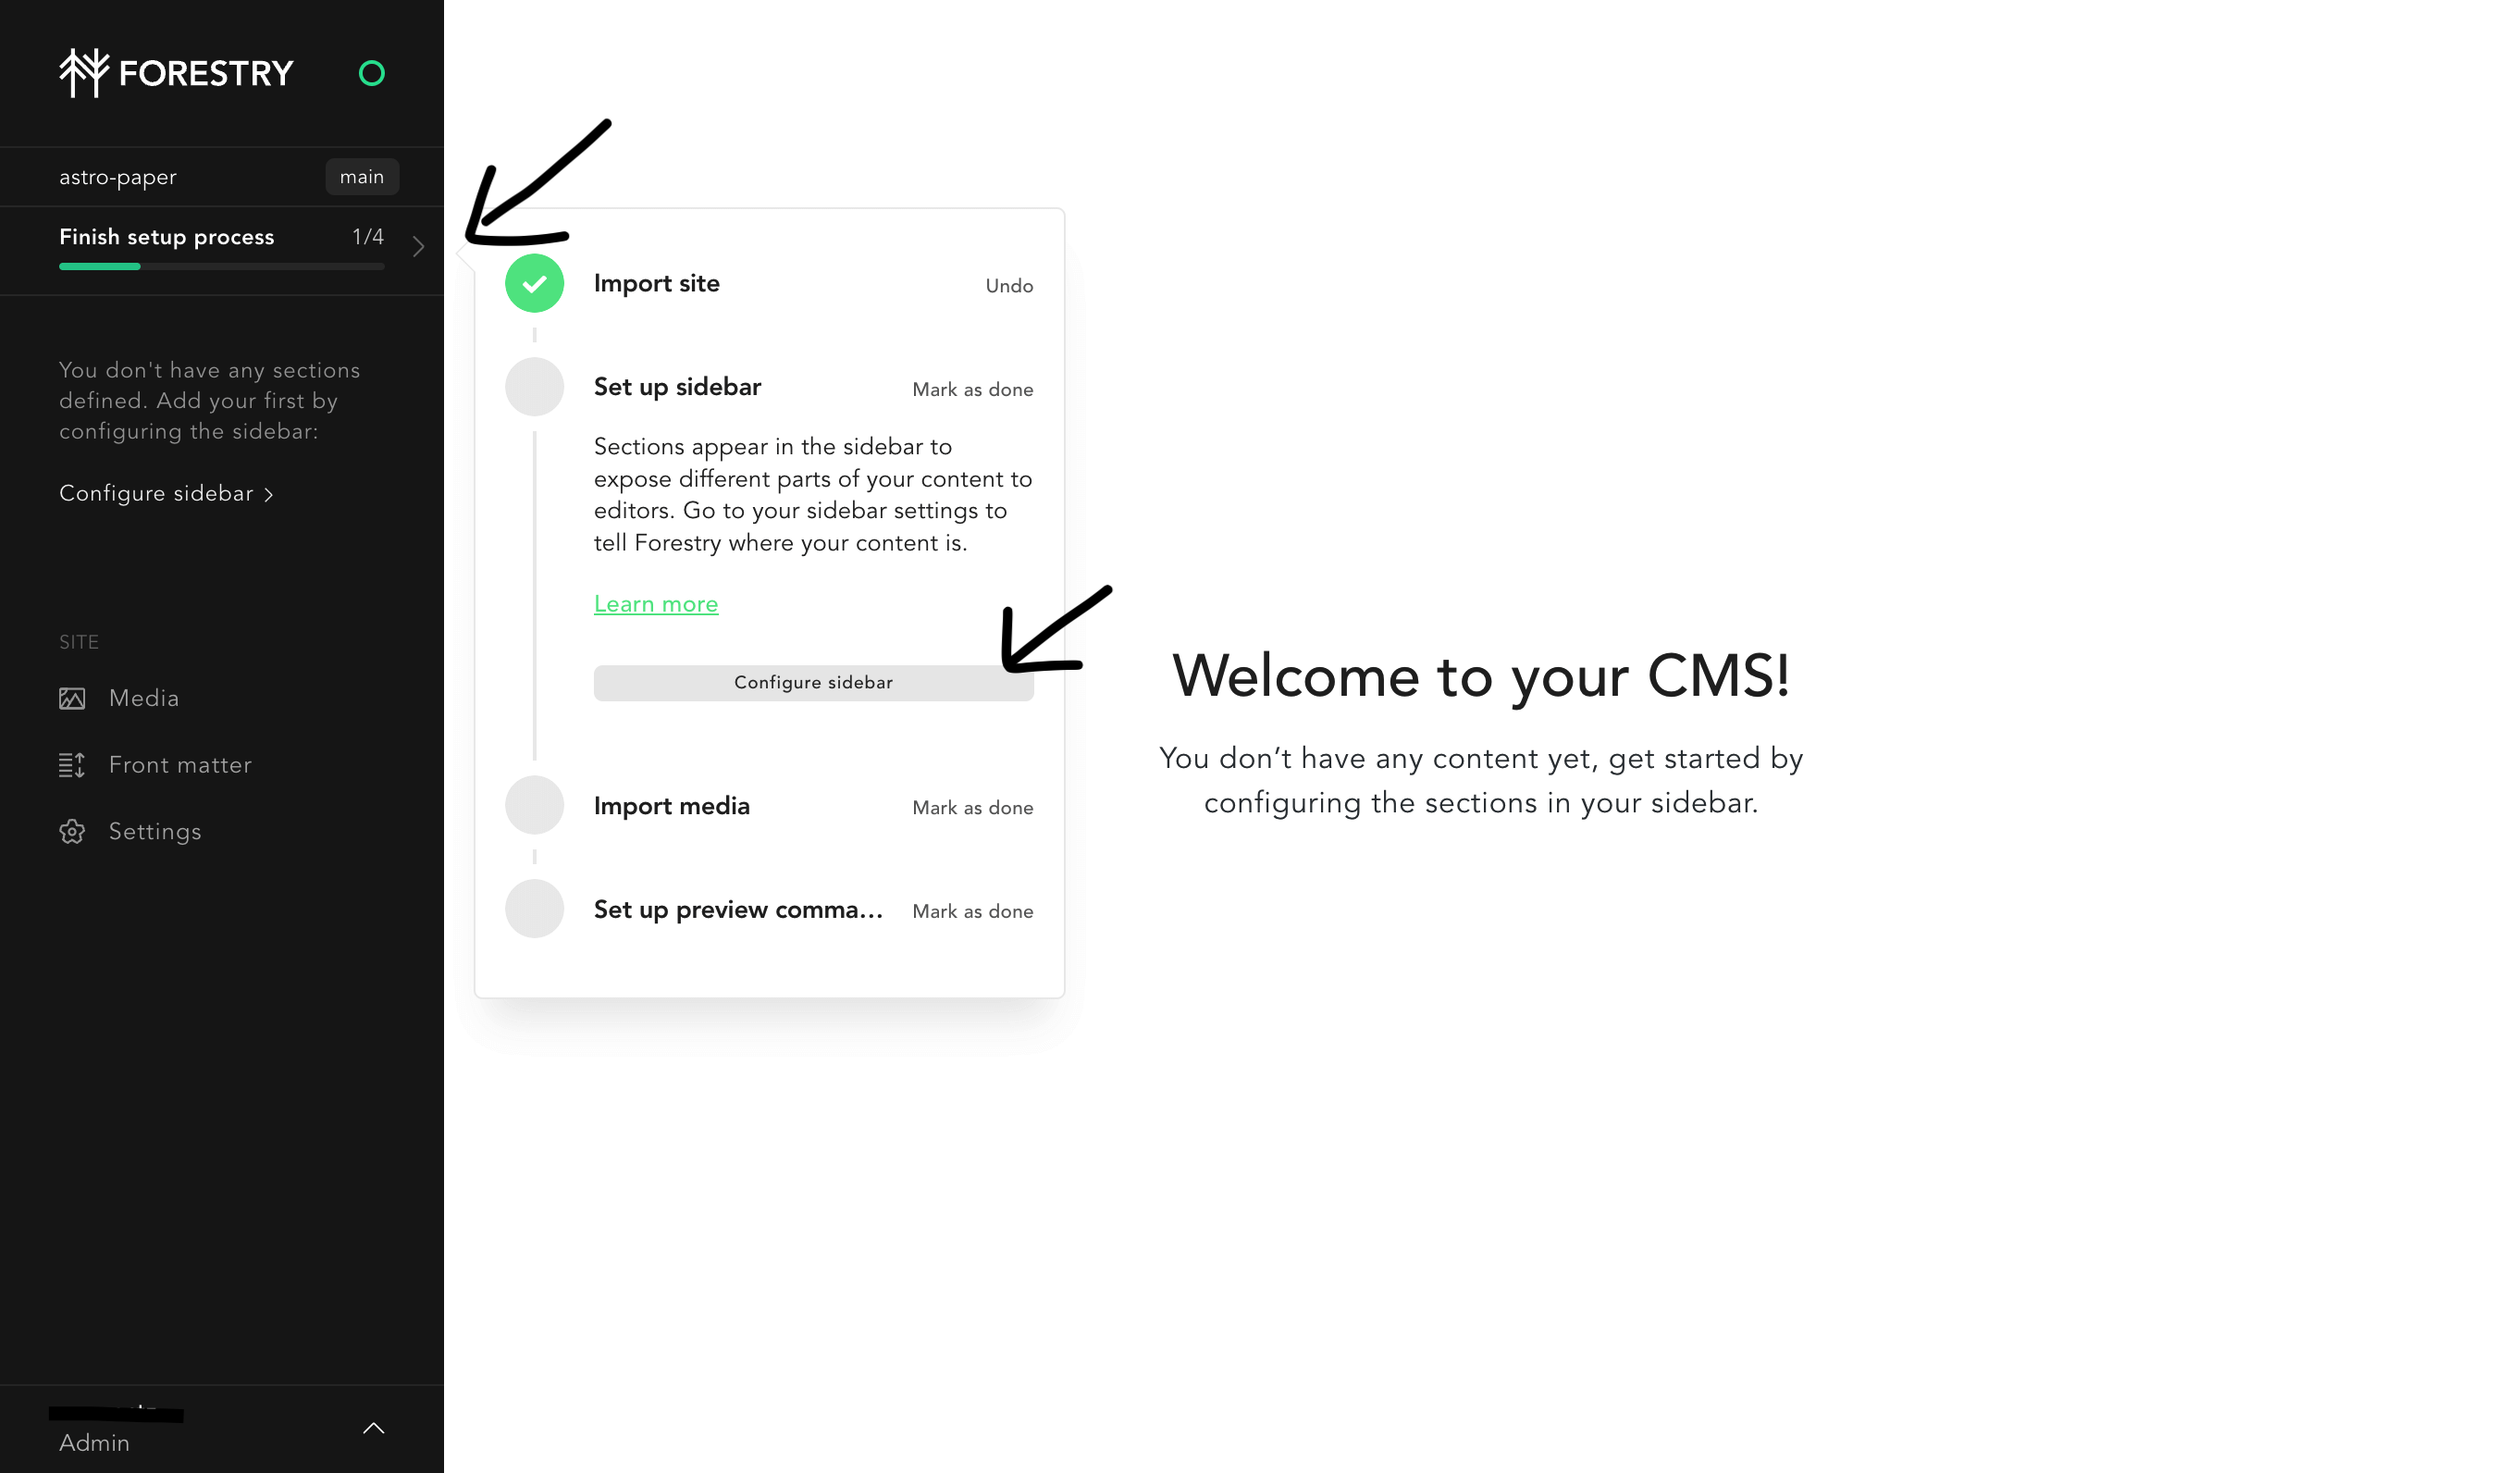
Set up Sidebar
The next phase after importing site is setting up sidebar menu. You can add many sidebar menu as you want. However, I’ll only add one sidebar menu in this case.
Navigate to “Finish setup process” > “Set up sidebar” and click “Configure sitebar”
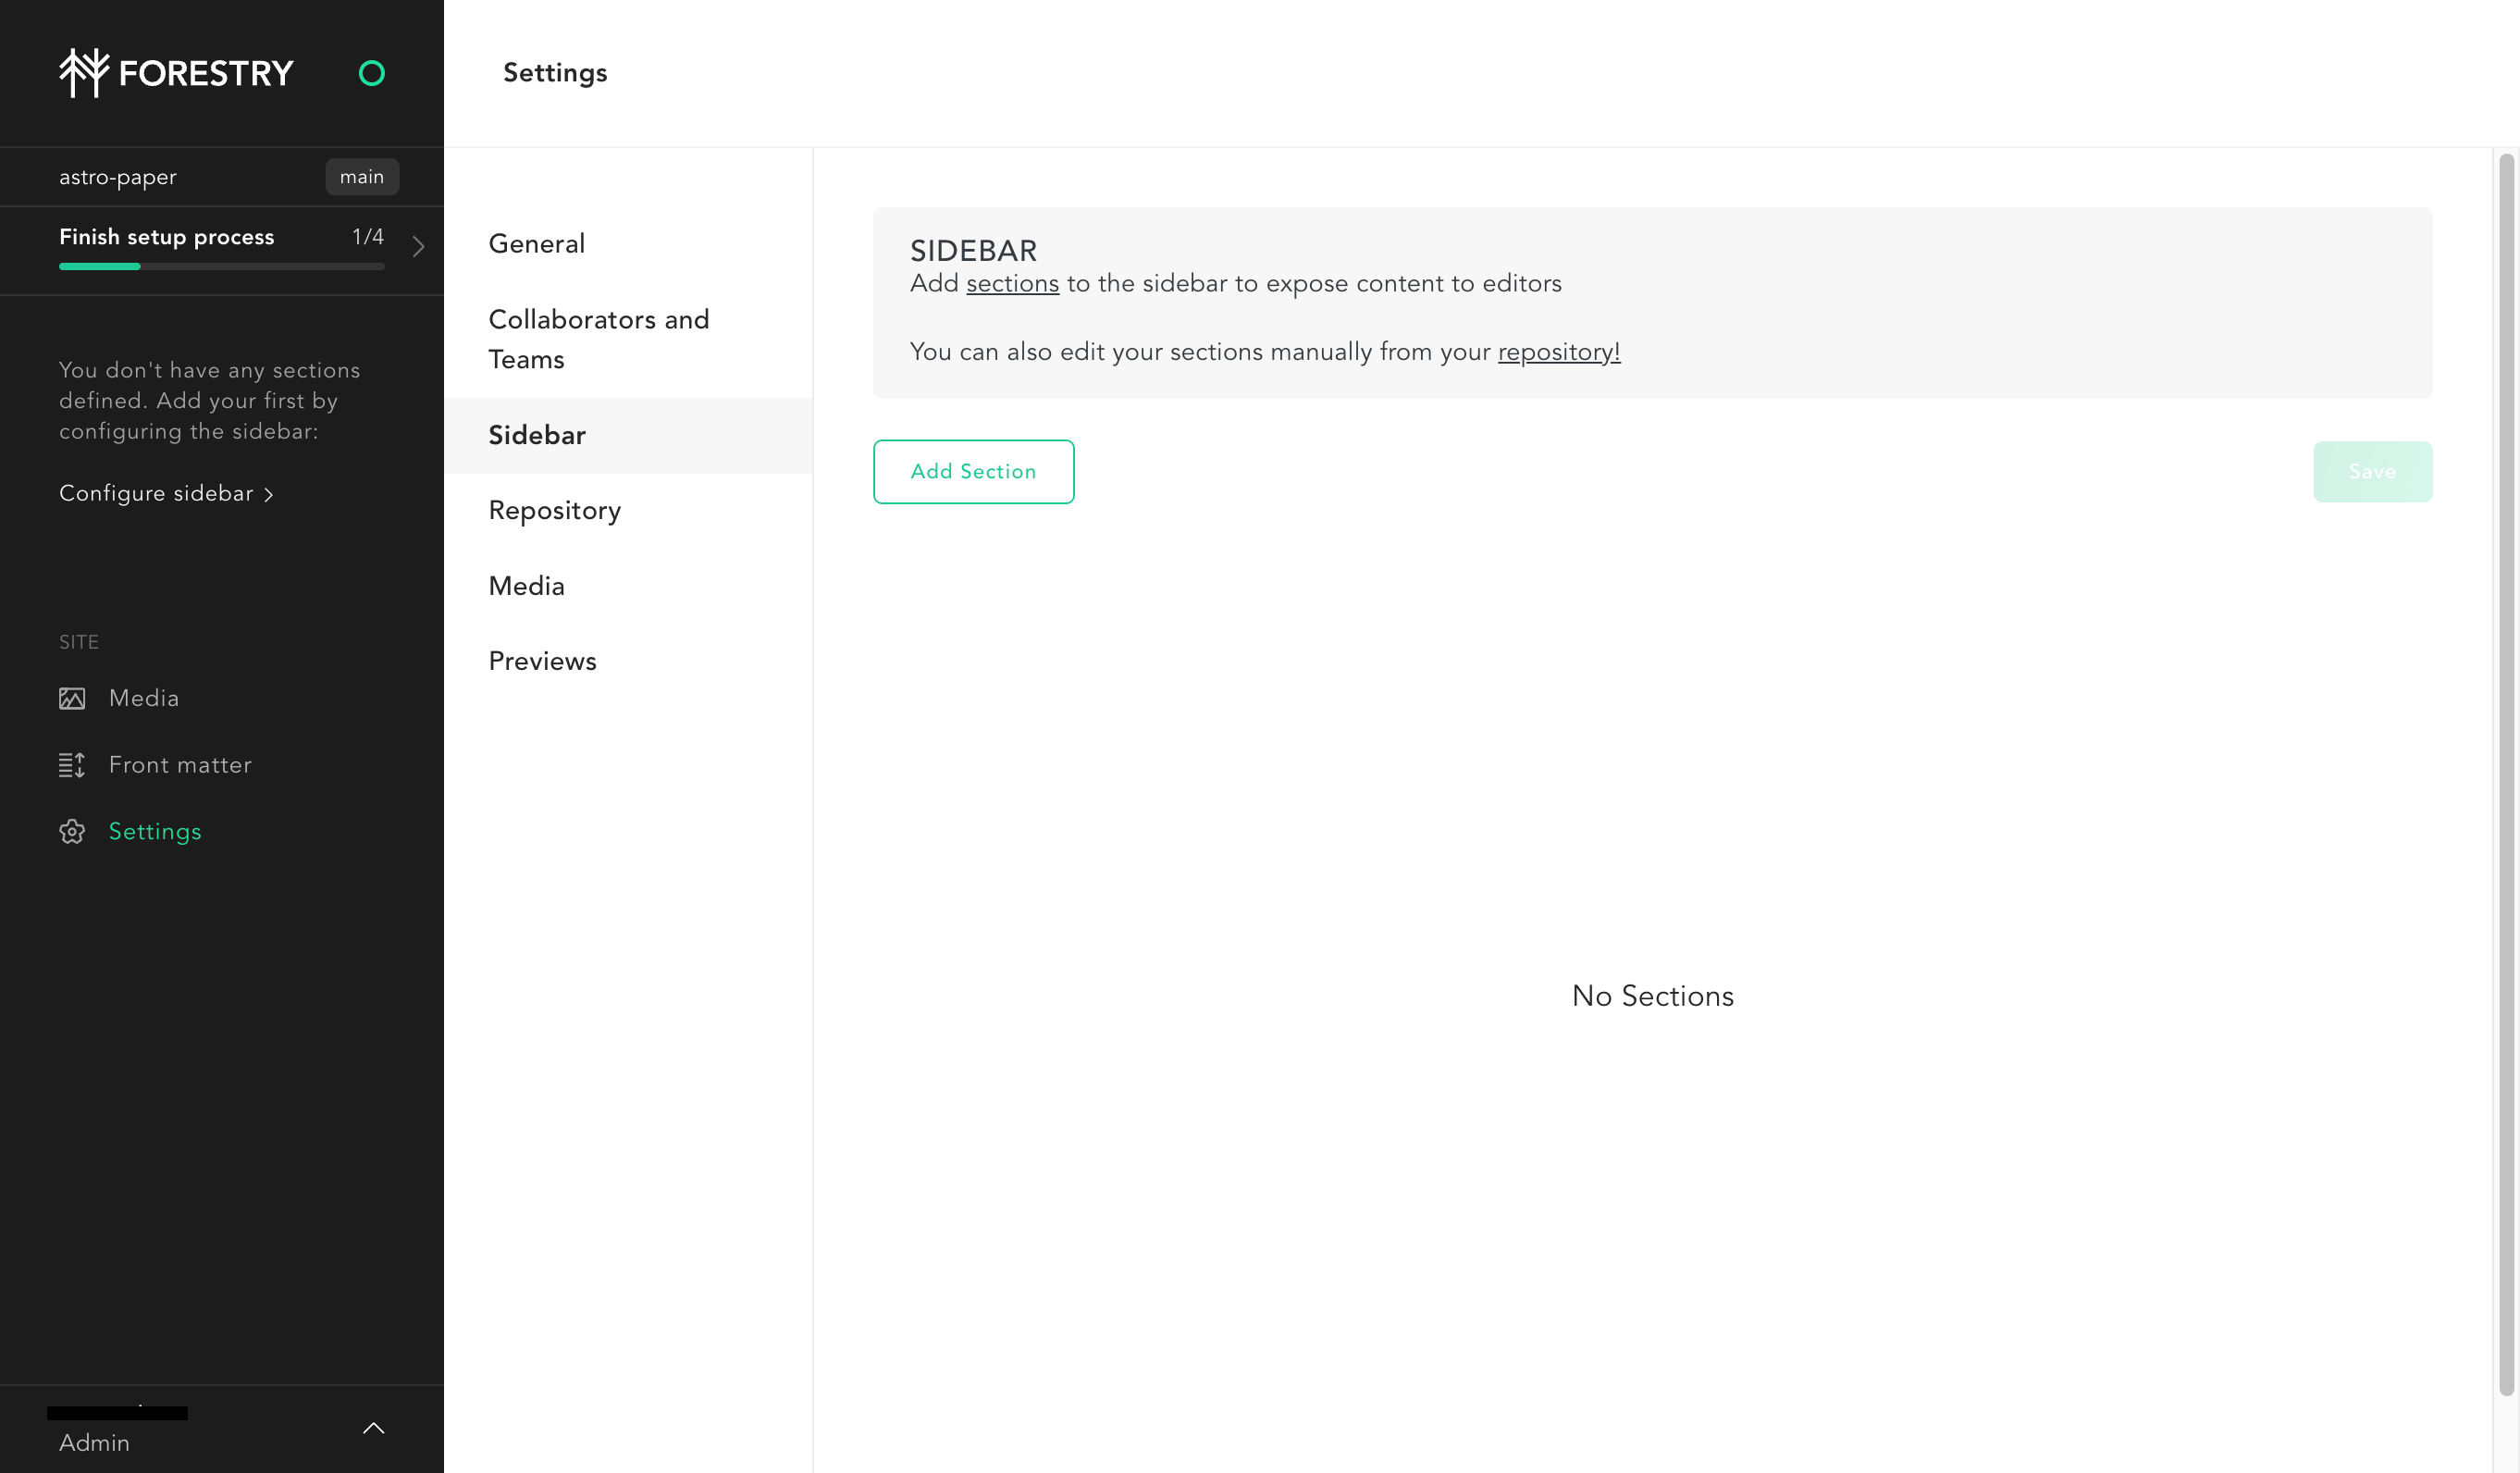
Then, click “Add Section” button.
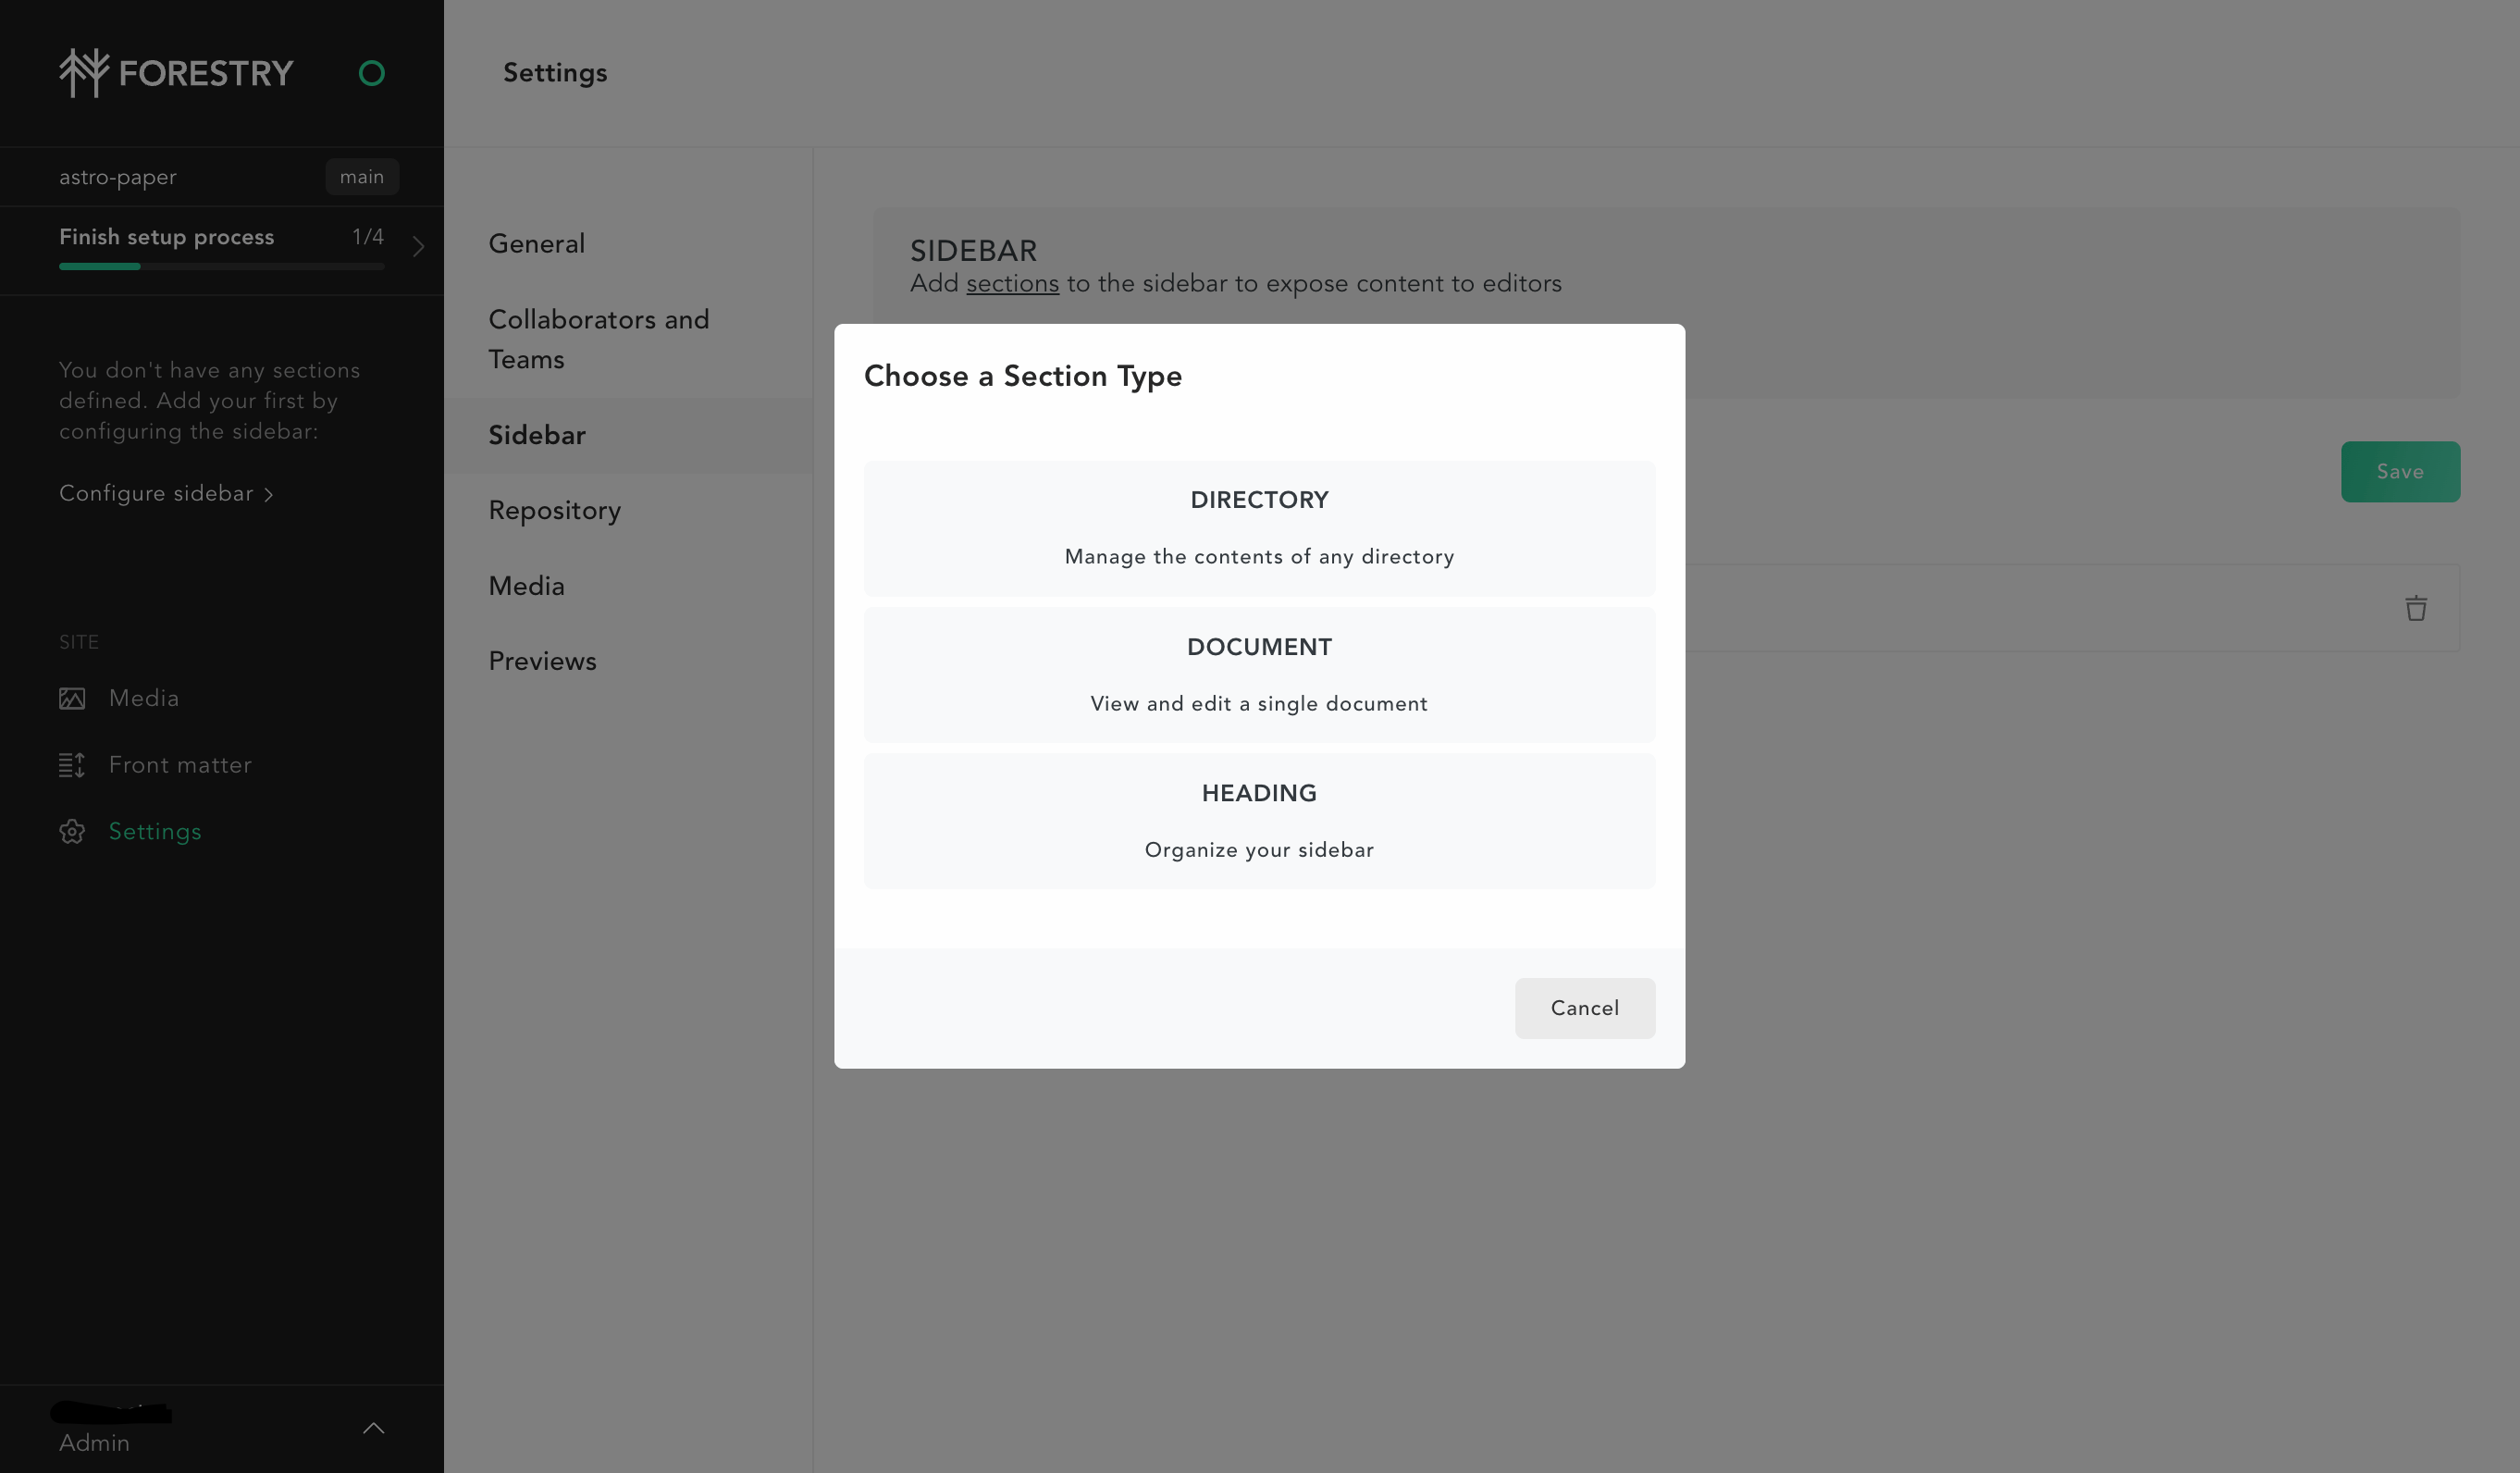
After that, choose DIRECTORY for the Section Type.
Then, configure the directory section. You can follow along with my setup.
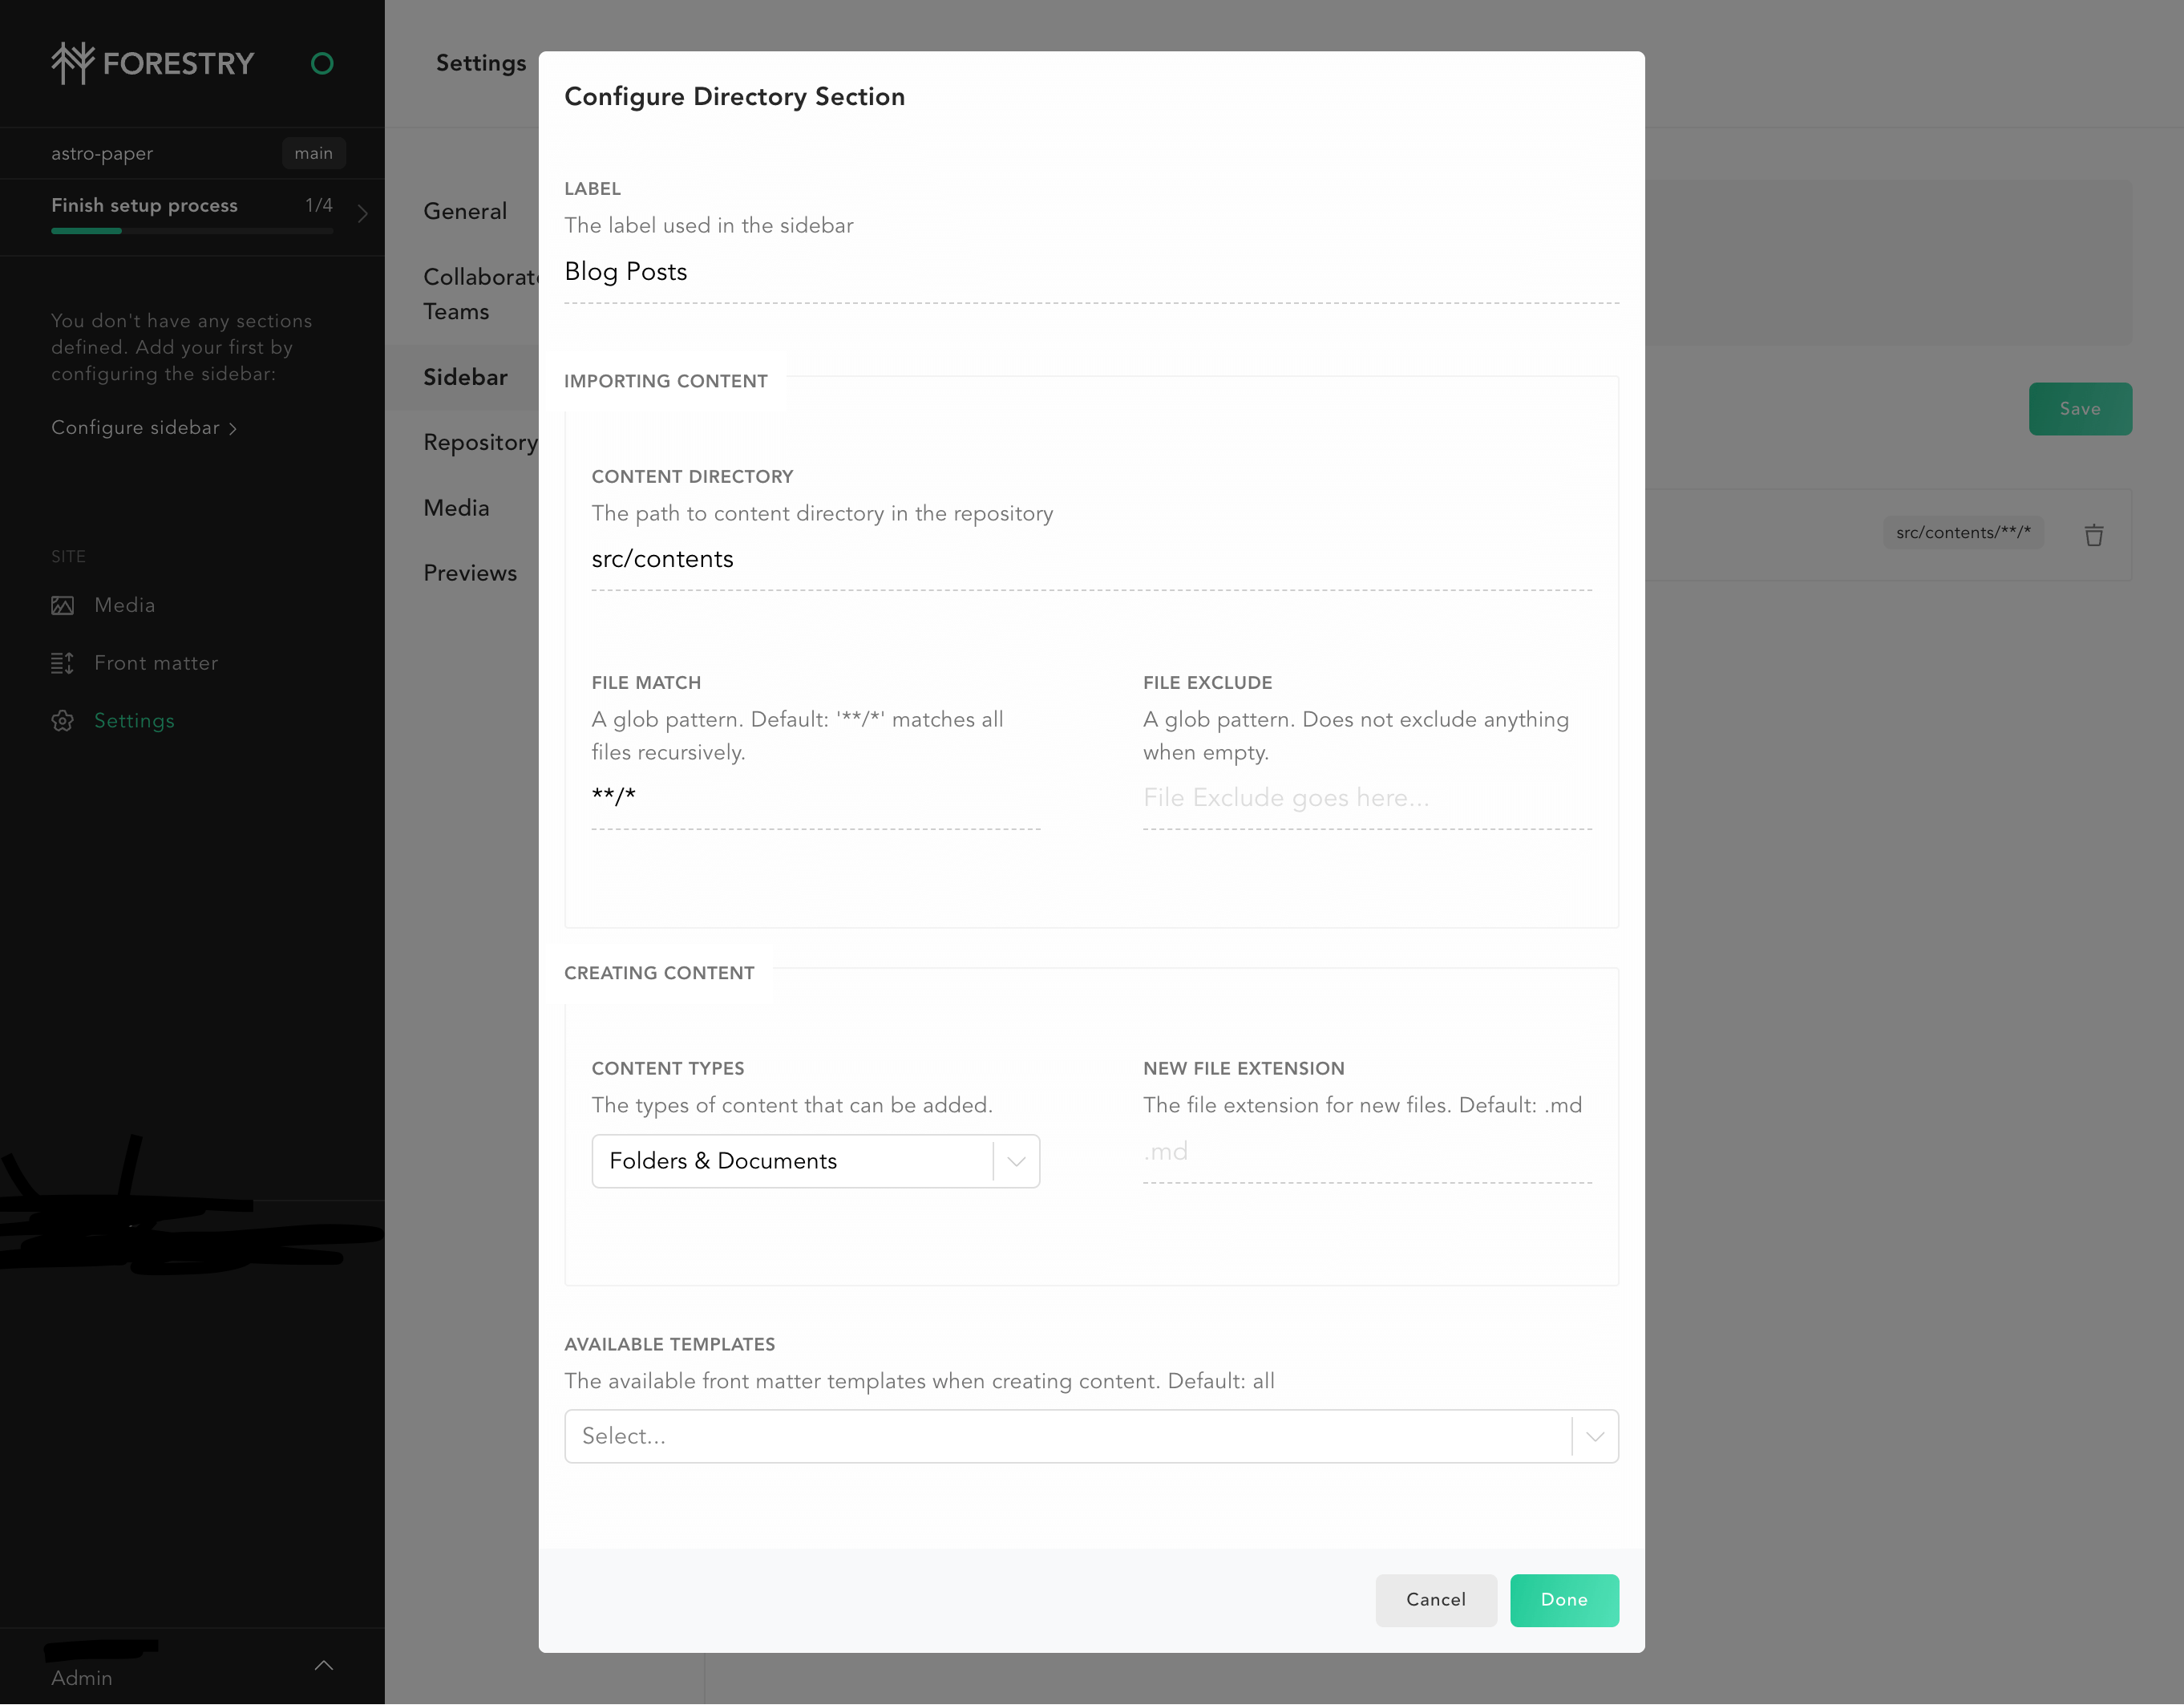
After this step, you should see a sidebar menu “Blog Posts” and some blog posts.
Set up Media Import
In Forestry CMS, you can set up different options for media (aka assets) such as Cloudinary, git commit media etc. I usually store my assets in Cloudinary. To set up media import, go to Settings > Media. Then select your image storage provider. (I chose Cloudinary).
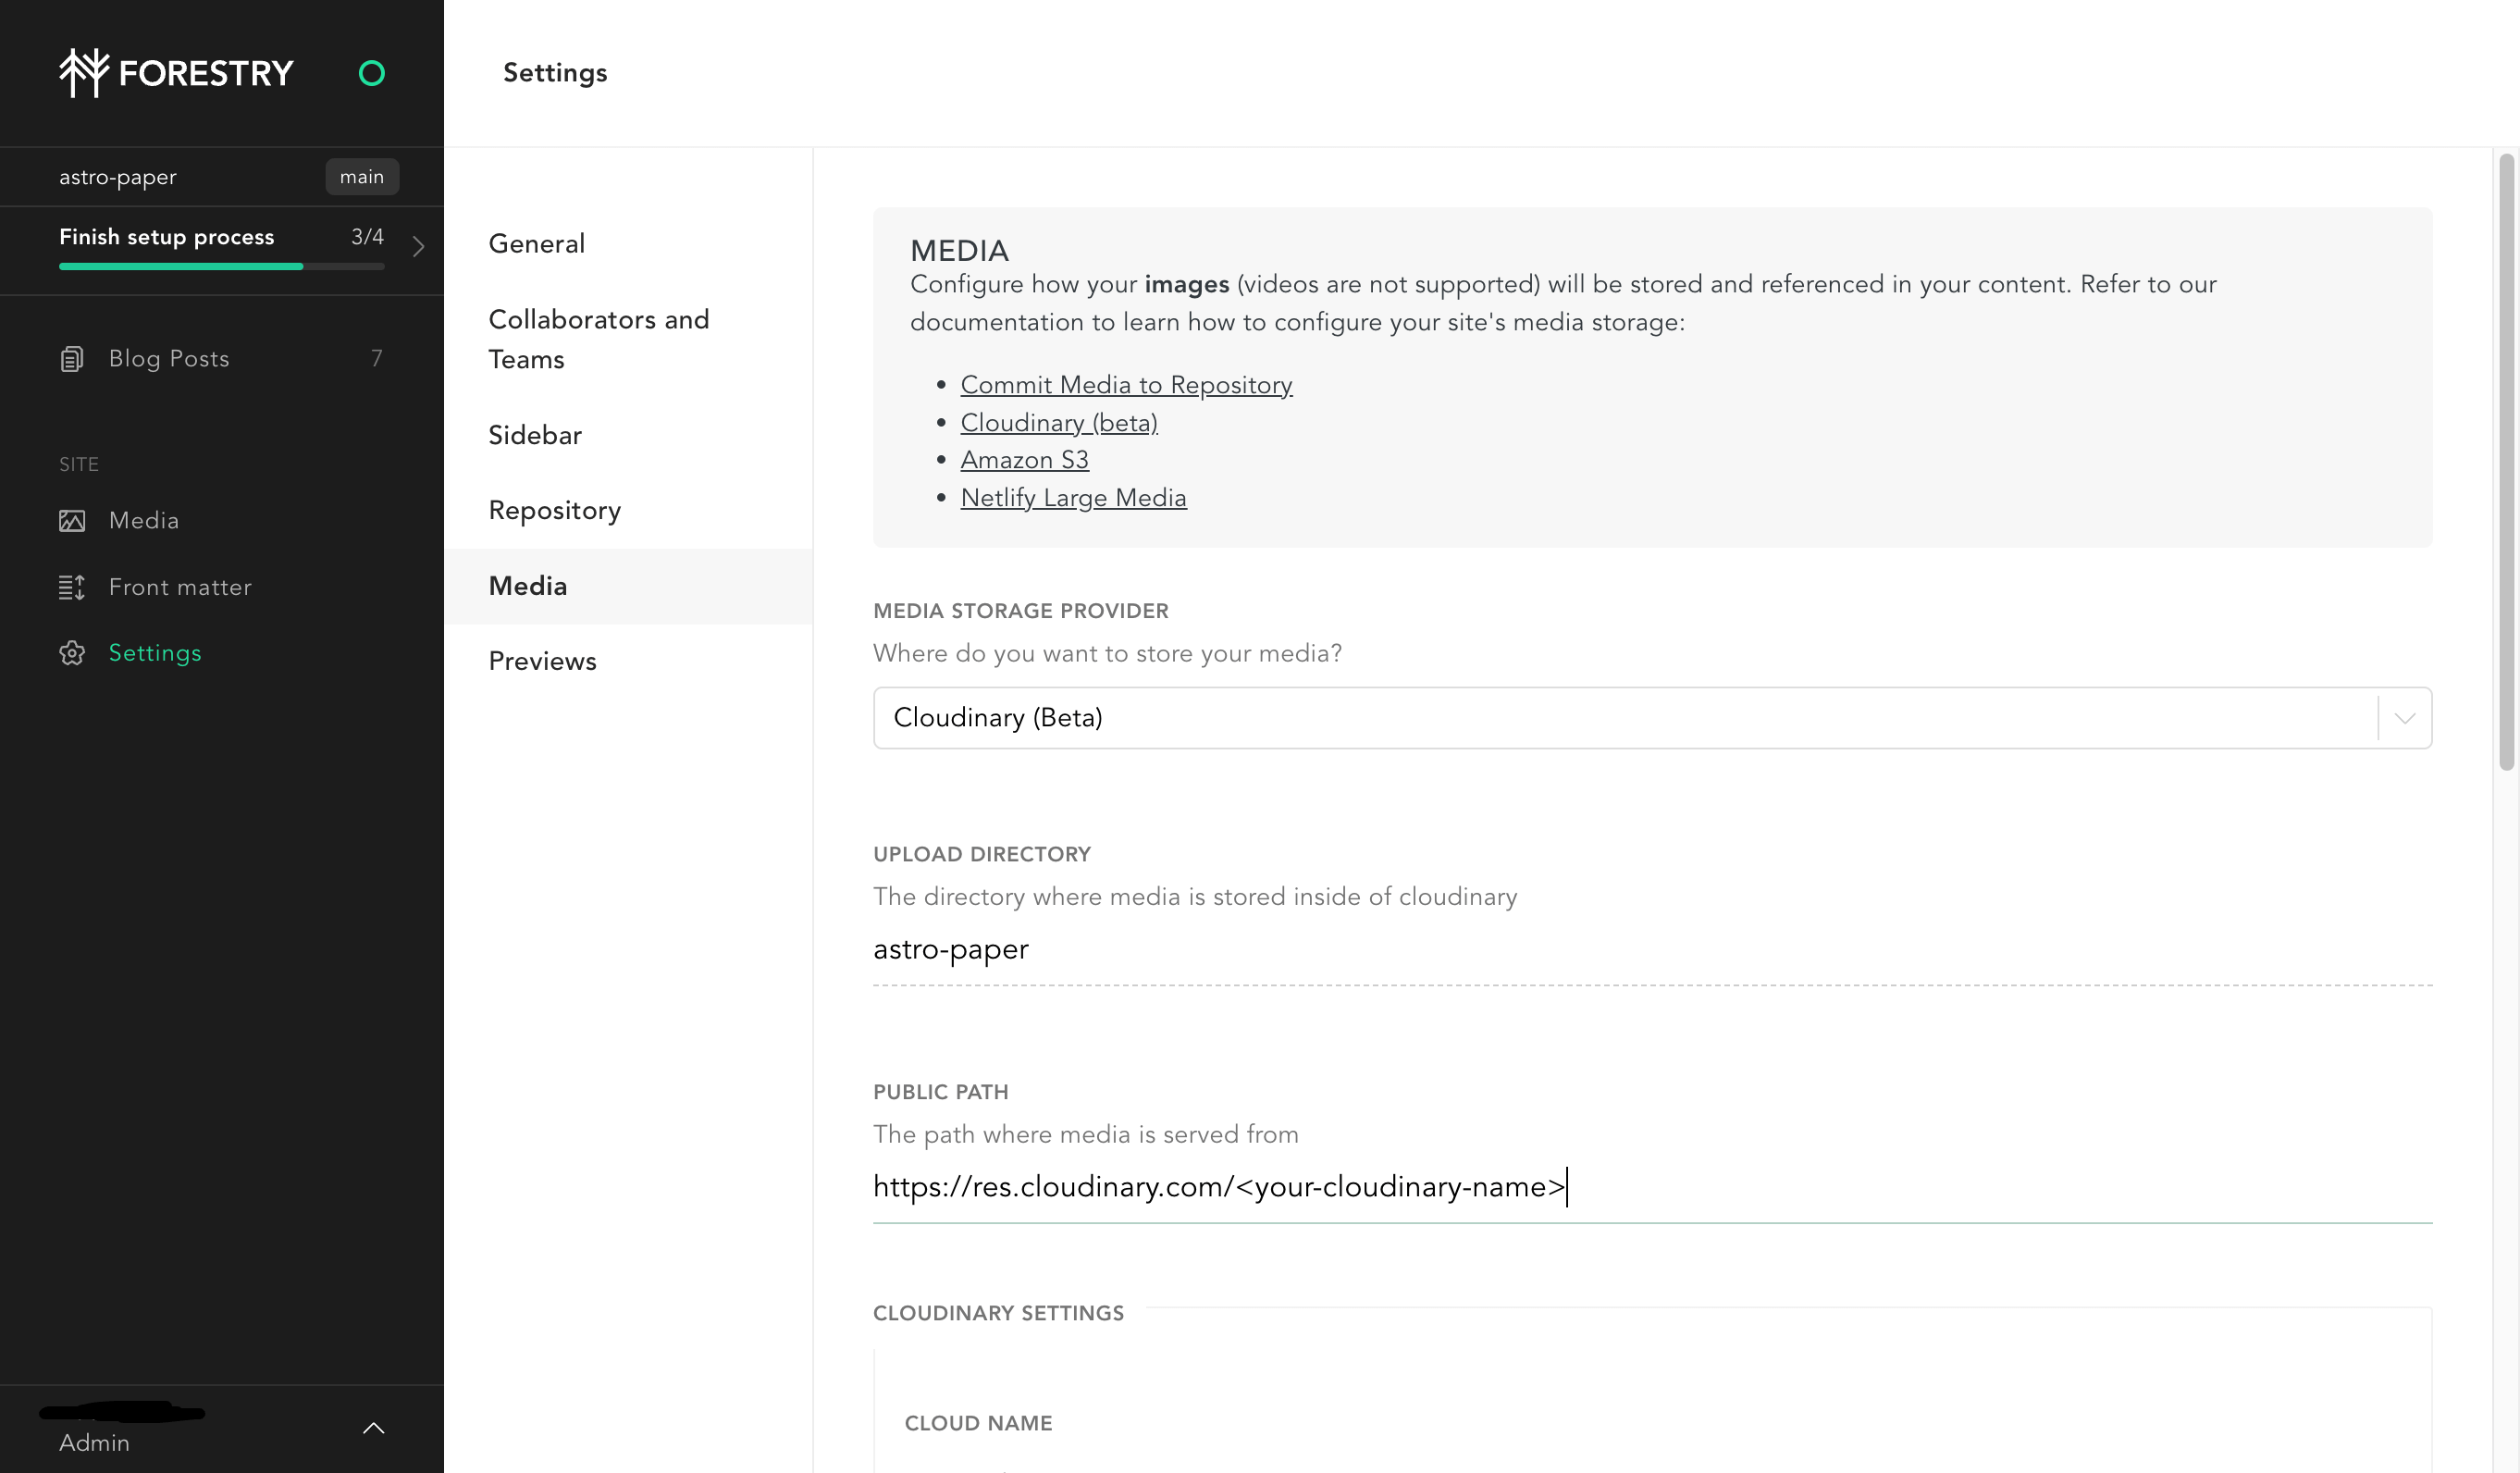
You can see details of Forestry Cloudinary setup at Forestry documentation.
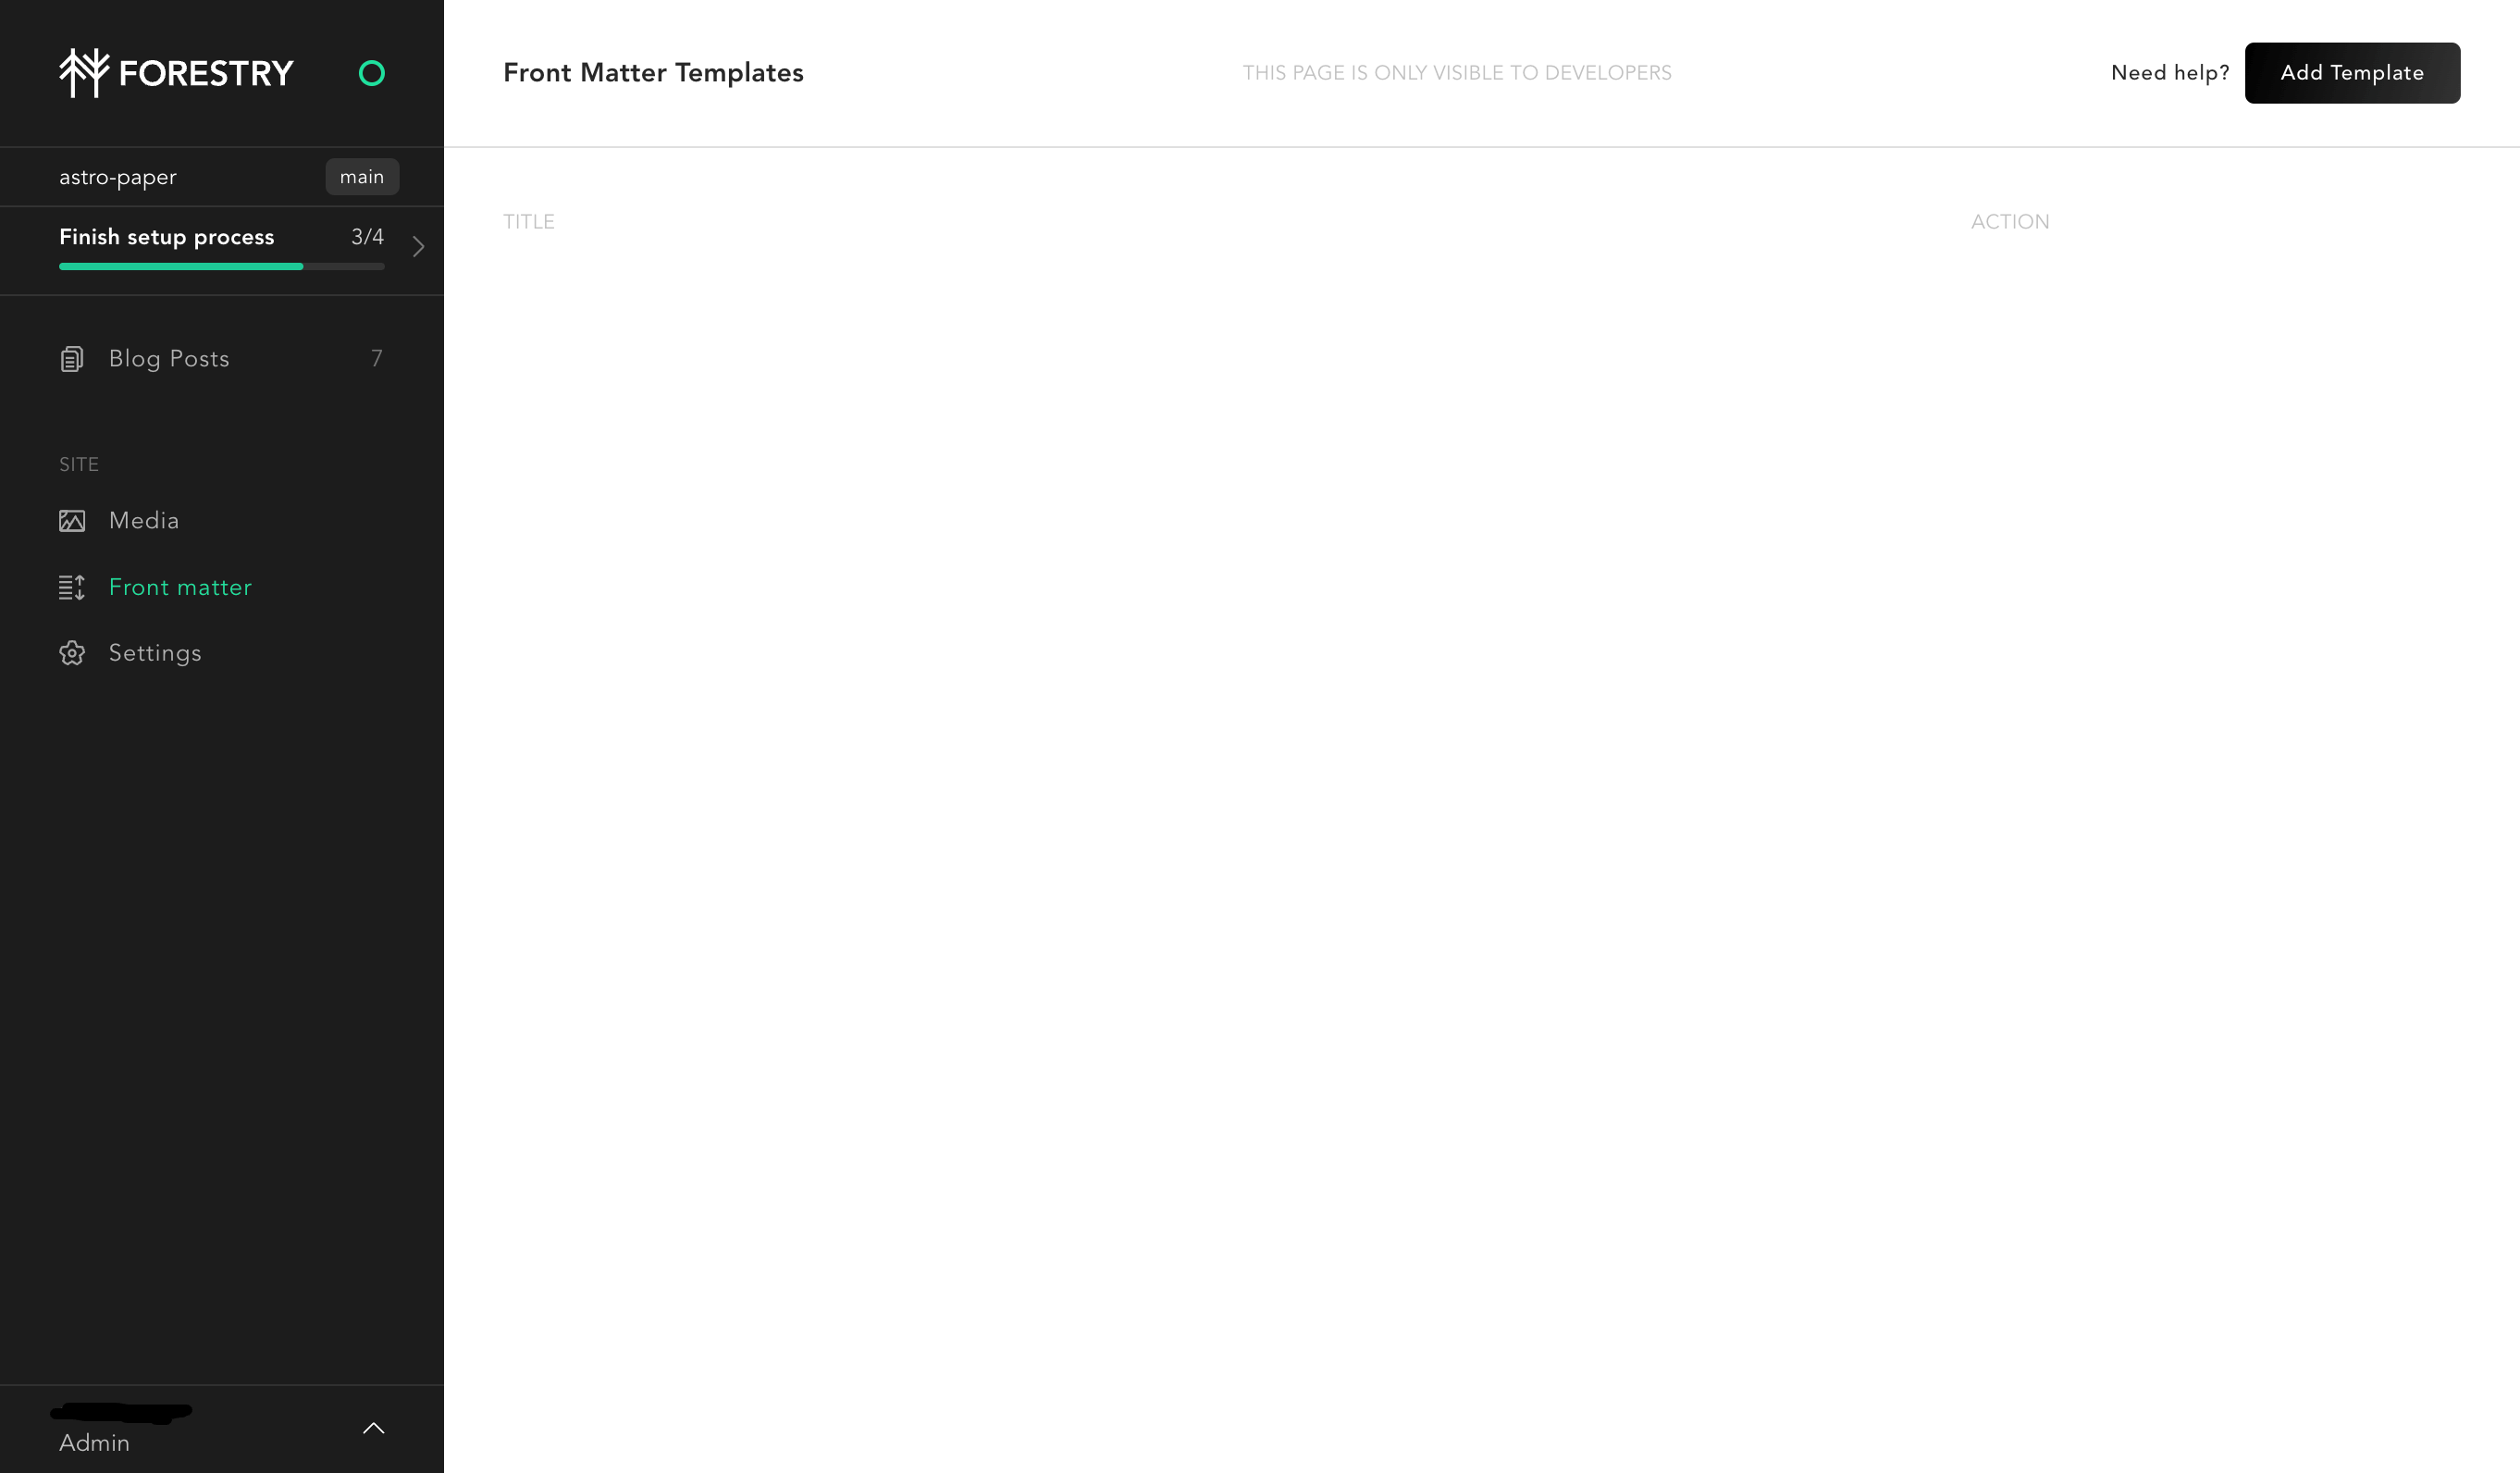
Set up Front matter template
After setting everything up, you can set up front matter template for your future blog post. To set up front matter template, navigate to “Front matter” menu on the sidebar.
Then, click “Add Template” button at the top right corner.
Select new template based on existing document.
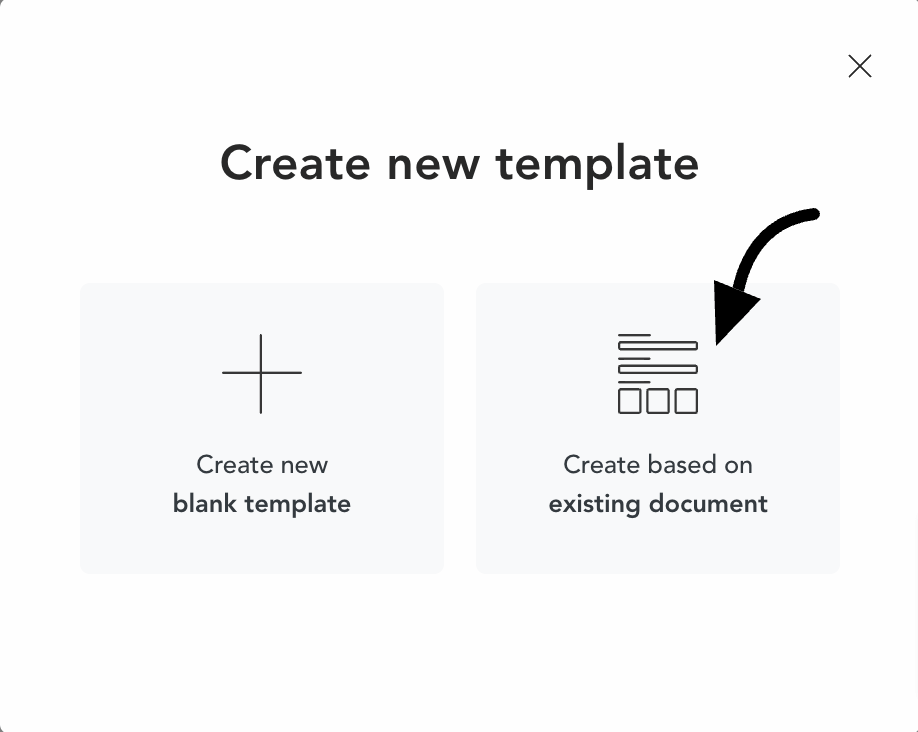
Then, add template name and choose one of my document page as template.
As the final setup, make some adjustment in the front matter field settings.
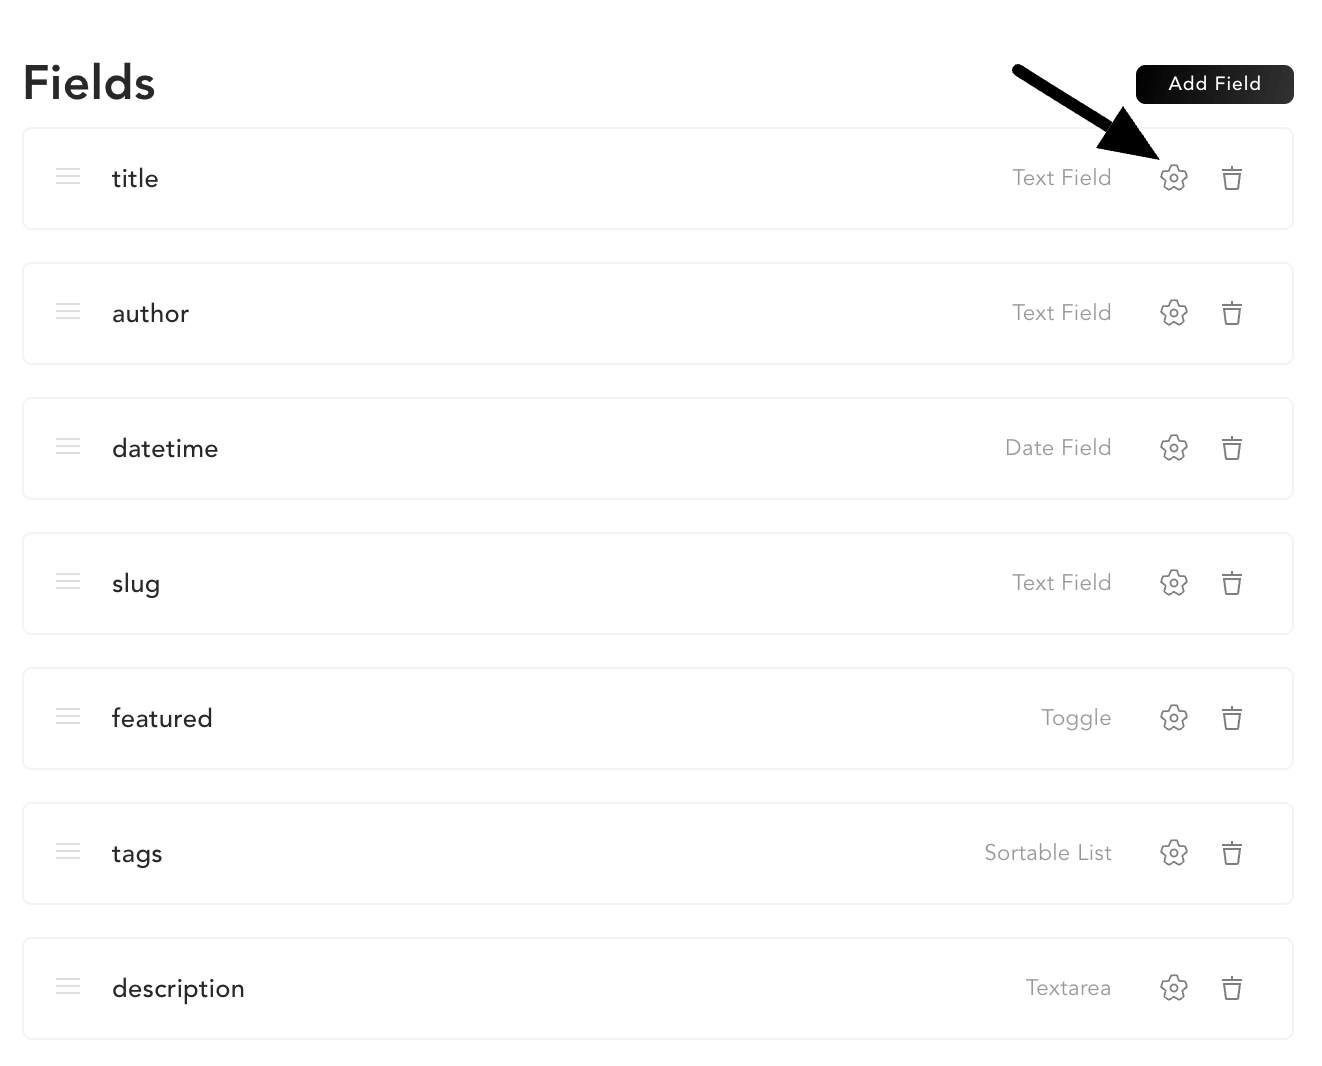
Here are some adjustments you have to made.
title
- Validation => REQUIRED => true
author
- Default => your name
datetime
- Default => USE “NOW” AS DEFAULT
description
- Validation => REQUIRED => true
Conclusion
You can now post your articles and write whatever you want.