AstroPaper is a highly customizable Astro blog theme. With AstroPaper, you can customize everything according to your personal taste. This article will explain how you can make some customizations easily in the config file.
Table of contents
Open Table of contents
Configuring SITE
First of all, replace site property of astro.config.mjs file with your own deployed domain. (You can omit this step if you don’t have deployed domain yet or you are still in development mode)
Another important configurations lies in src/config.ts file. Within that file, you’ll see the SITE object where you can specify your website’s main configurations.
// file: src/config.ts
export const SITE = {
  website: "https://astro-paper.pages.dev/",
  author: "Sat Naing",
  desc: "A minimal, responsive and SEO-friendly Astro blog theme.",
  title: "AstroPaper",
  ogImage: "default-og.png",
  lightAndDarkMode: true,
  postPerPage: 3,
};
Here are SITE configuration options
| Options | Description |
|---|---|
website | Your deployed website url |
author | Your name |
desc | Your site description. Useful for SEO and social media sharing. |
title | Your site name |
ogImage | Your default OG image for the site. Useful for social media sharing. OG image can be updated under /public directory. |
lightAndDarkMode | Enable or disable light & dark mode for the website. If disabled, primary color scheme will be used. This option is enabled by default. |
postPerPage | You can specify how many posts will be displayed in each posts page. (eg: if you set SITE.postPerPage to 3, each page will only show 3 posts per page) |
Configuring logo or title
You can specify site’s title or logo image in src/config.ts file.
![]()
// file: src/config.ts
export const LOGO_IMAGE = {
  enable: false,
  svg: true,
  width: 216,
  height: 46,
};
If you specify LOGO_IMAGE.enable => false, AstroPaper will automatically convert SITE.title to the main site text logo.
If you specify LOGO_IMAGE.enable => true, AstroPaper will use the logo image as the site’s main logo.
You have to specify logo.png or logo.svg under /public/assets directory. Currently, only svg and png image file formats are supported. (Important! logo name has to be logo.png or logo.svg)
If your logo image is png file format, you have to set LOGO_IMAGE.svg => false.
It is recommended that you specify width and height of your logo image. You can do that by setting LOGO_IMAGE.width and LOGO_IMAGE.height
Configuring social links
You can configure your own social links along with its icons.
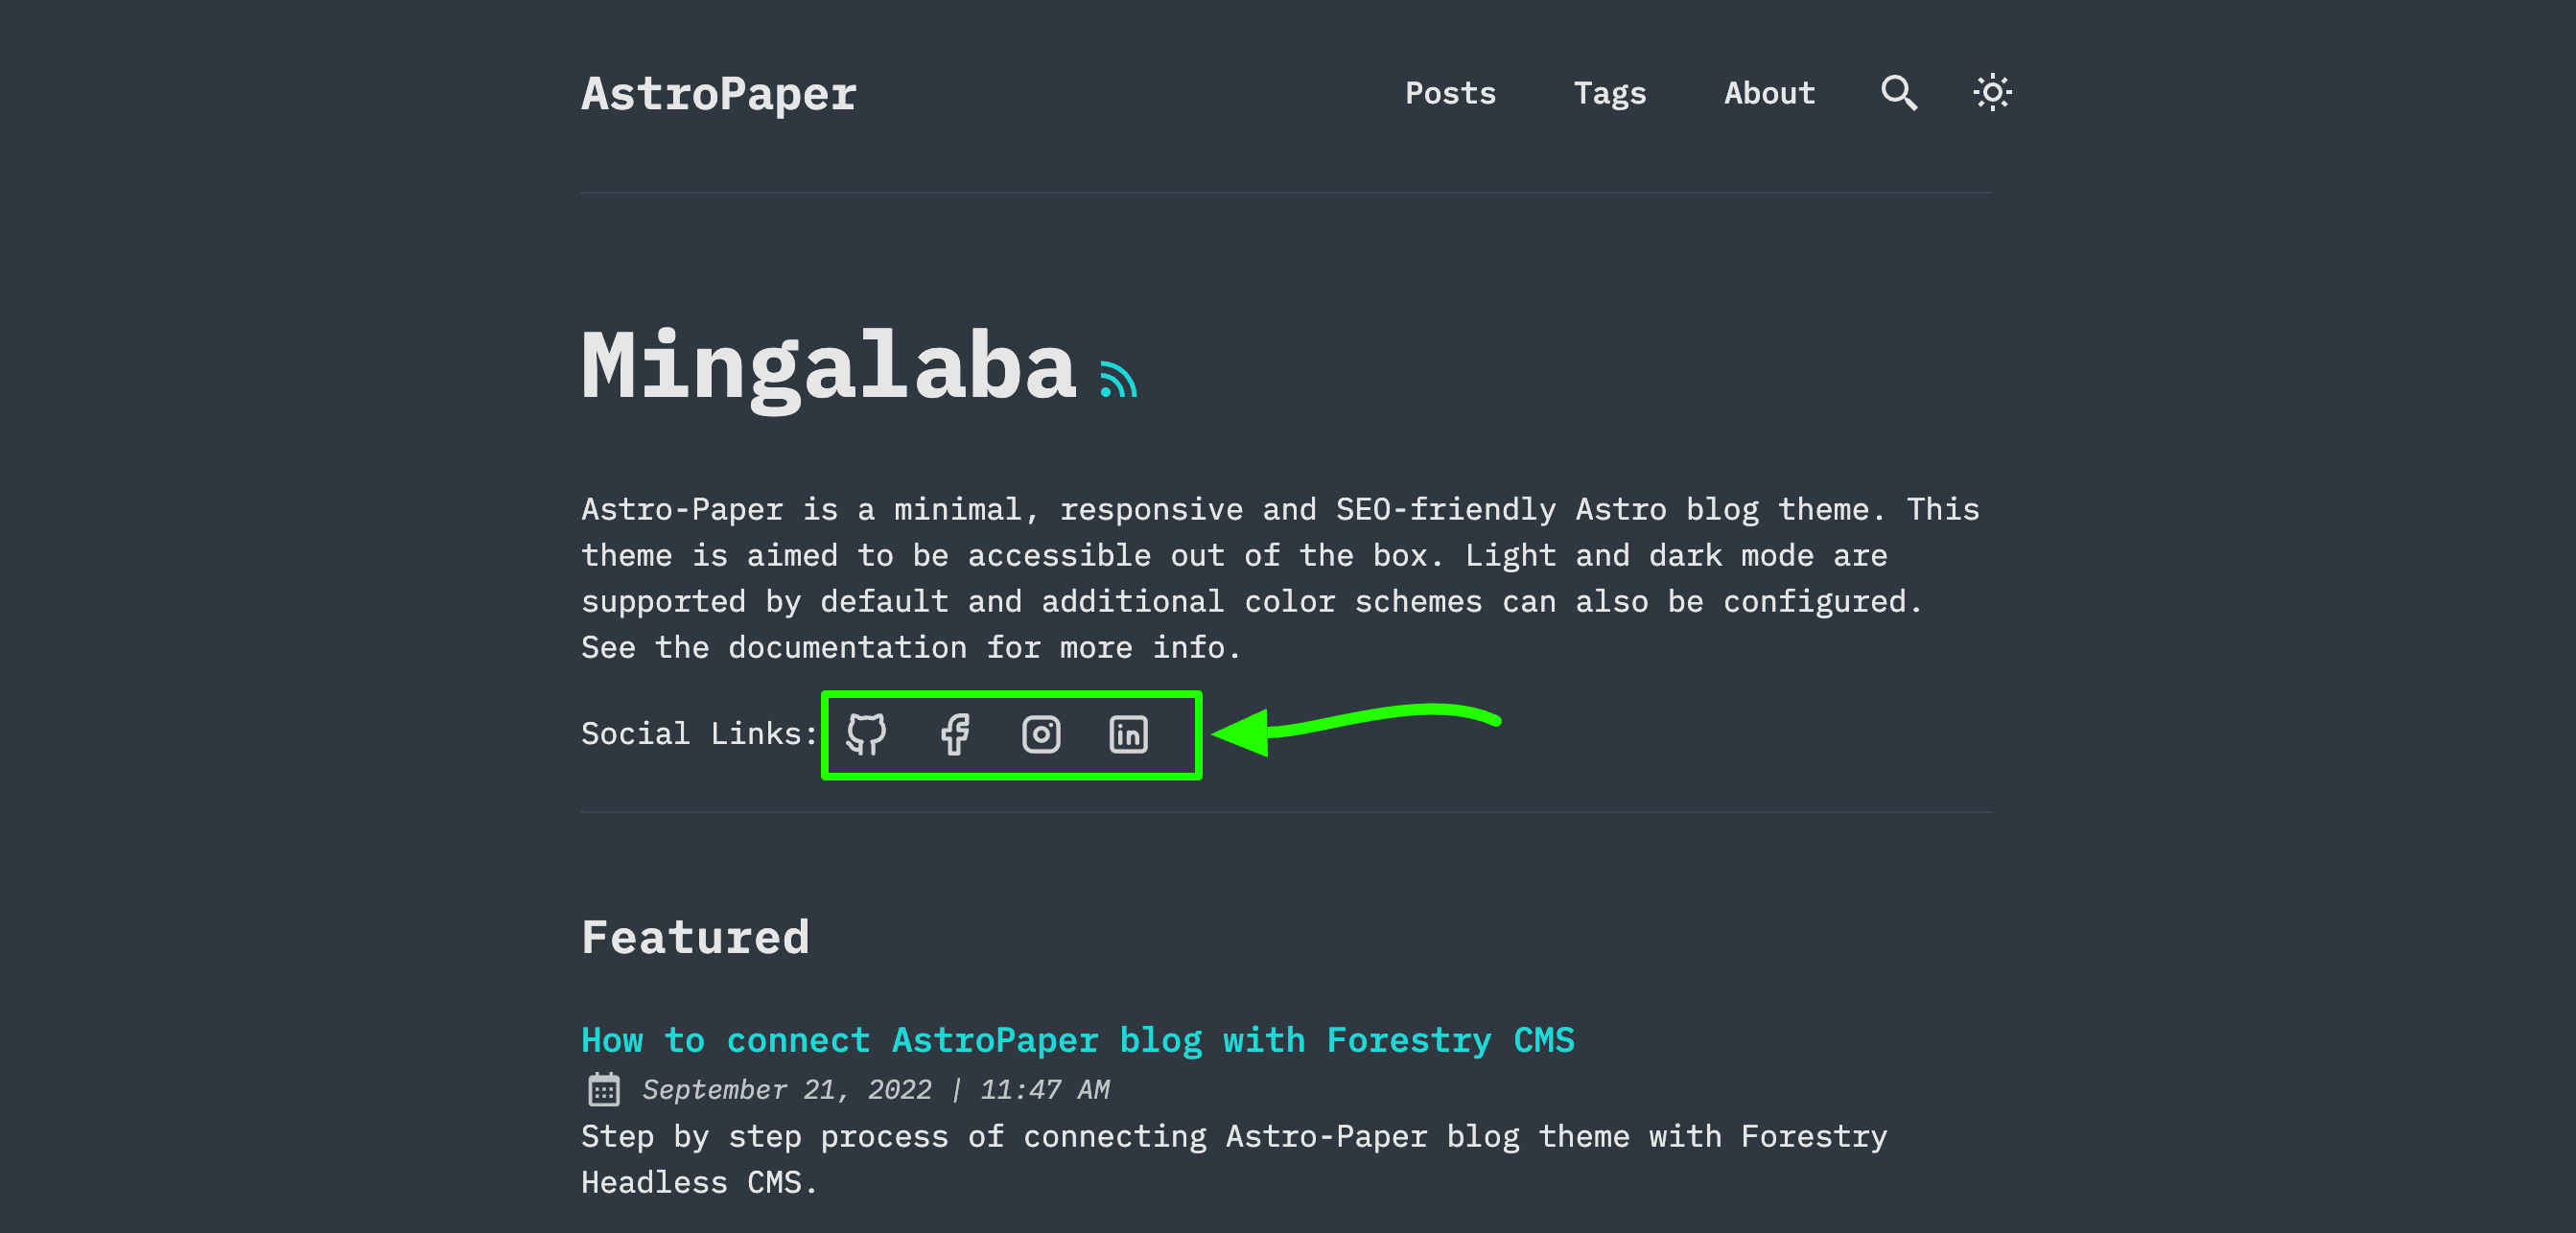
Currently 19 social icons are supported. (Github, LinkedIn, Facebook etc.)
You can specify and enable certain social links in hero section and footer. To do this, go to /src/config.ts and then you’ll find SOCIALS object.
// file: src/config.ts
export const SOCIALS: SocialsObject = [
  {
    name: "Github",
    href: "https://github.com/satnaing/astro-paper",
    active: true,
  },
  {
    name: "Facebook",
    href: "https://github.com/satnaing/astro-paper",
    active: true,
  },
  {
    name: "Instagram",
    href: "https://github.com/satnaing/astro-paper",
    active: true,
  },
  ...
]
You have to set specific social link to active: true in order to appear your social links in hero and footer section. Then, you also have to specify your social link in href property.
For instance, if I want to make my Github appear, I’ll make it like this.
export const SOCIALS: SocialsObject = [
  {
    name: "Github",
    href: "https://github.com/satnaing", // update account link
    active: true, // makre sure to set active to true
  }
  ...
]
Conclusion
This is the brief specification of how you can customize this theme. You can customize more if you know some coding. For customizing styles, please read this article. Thanks for reading.✌🏻